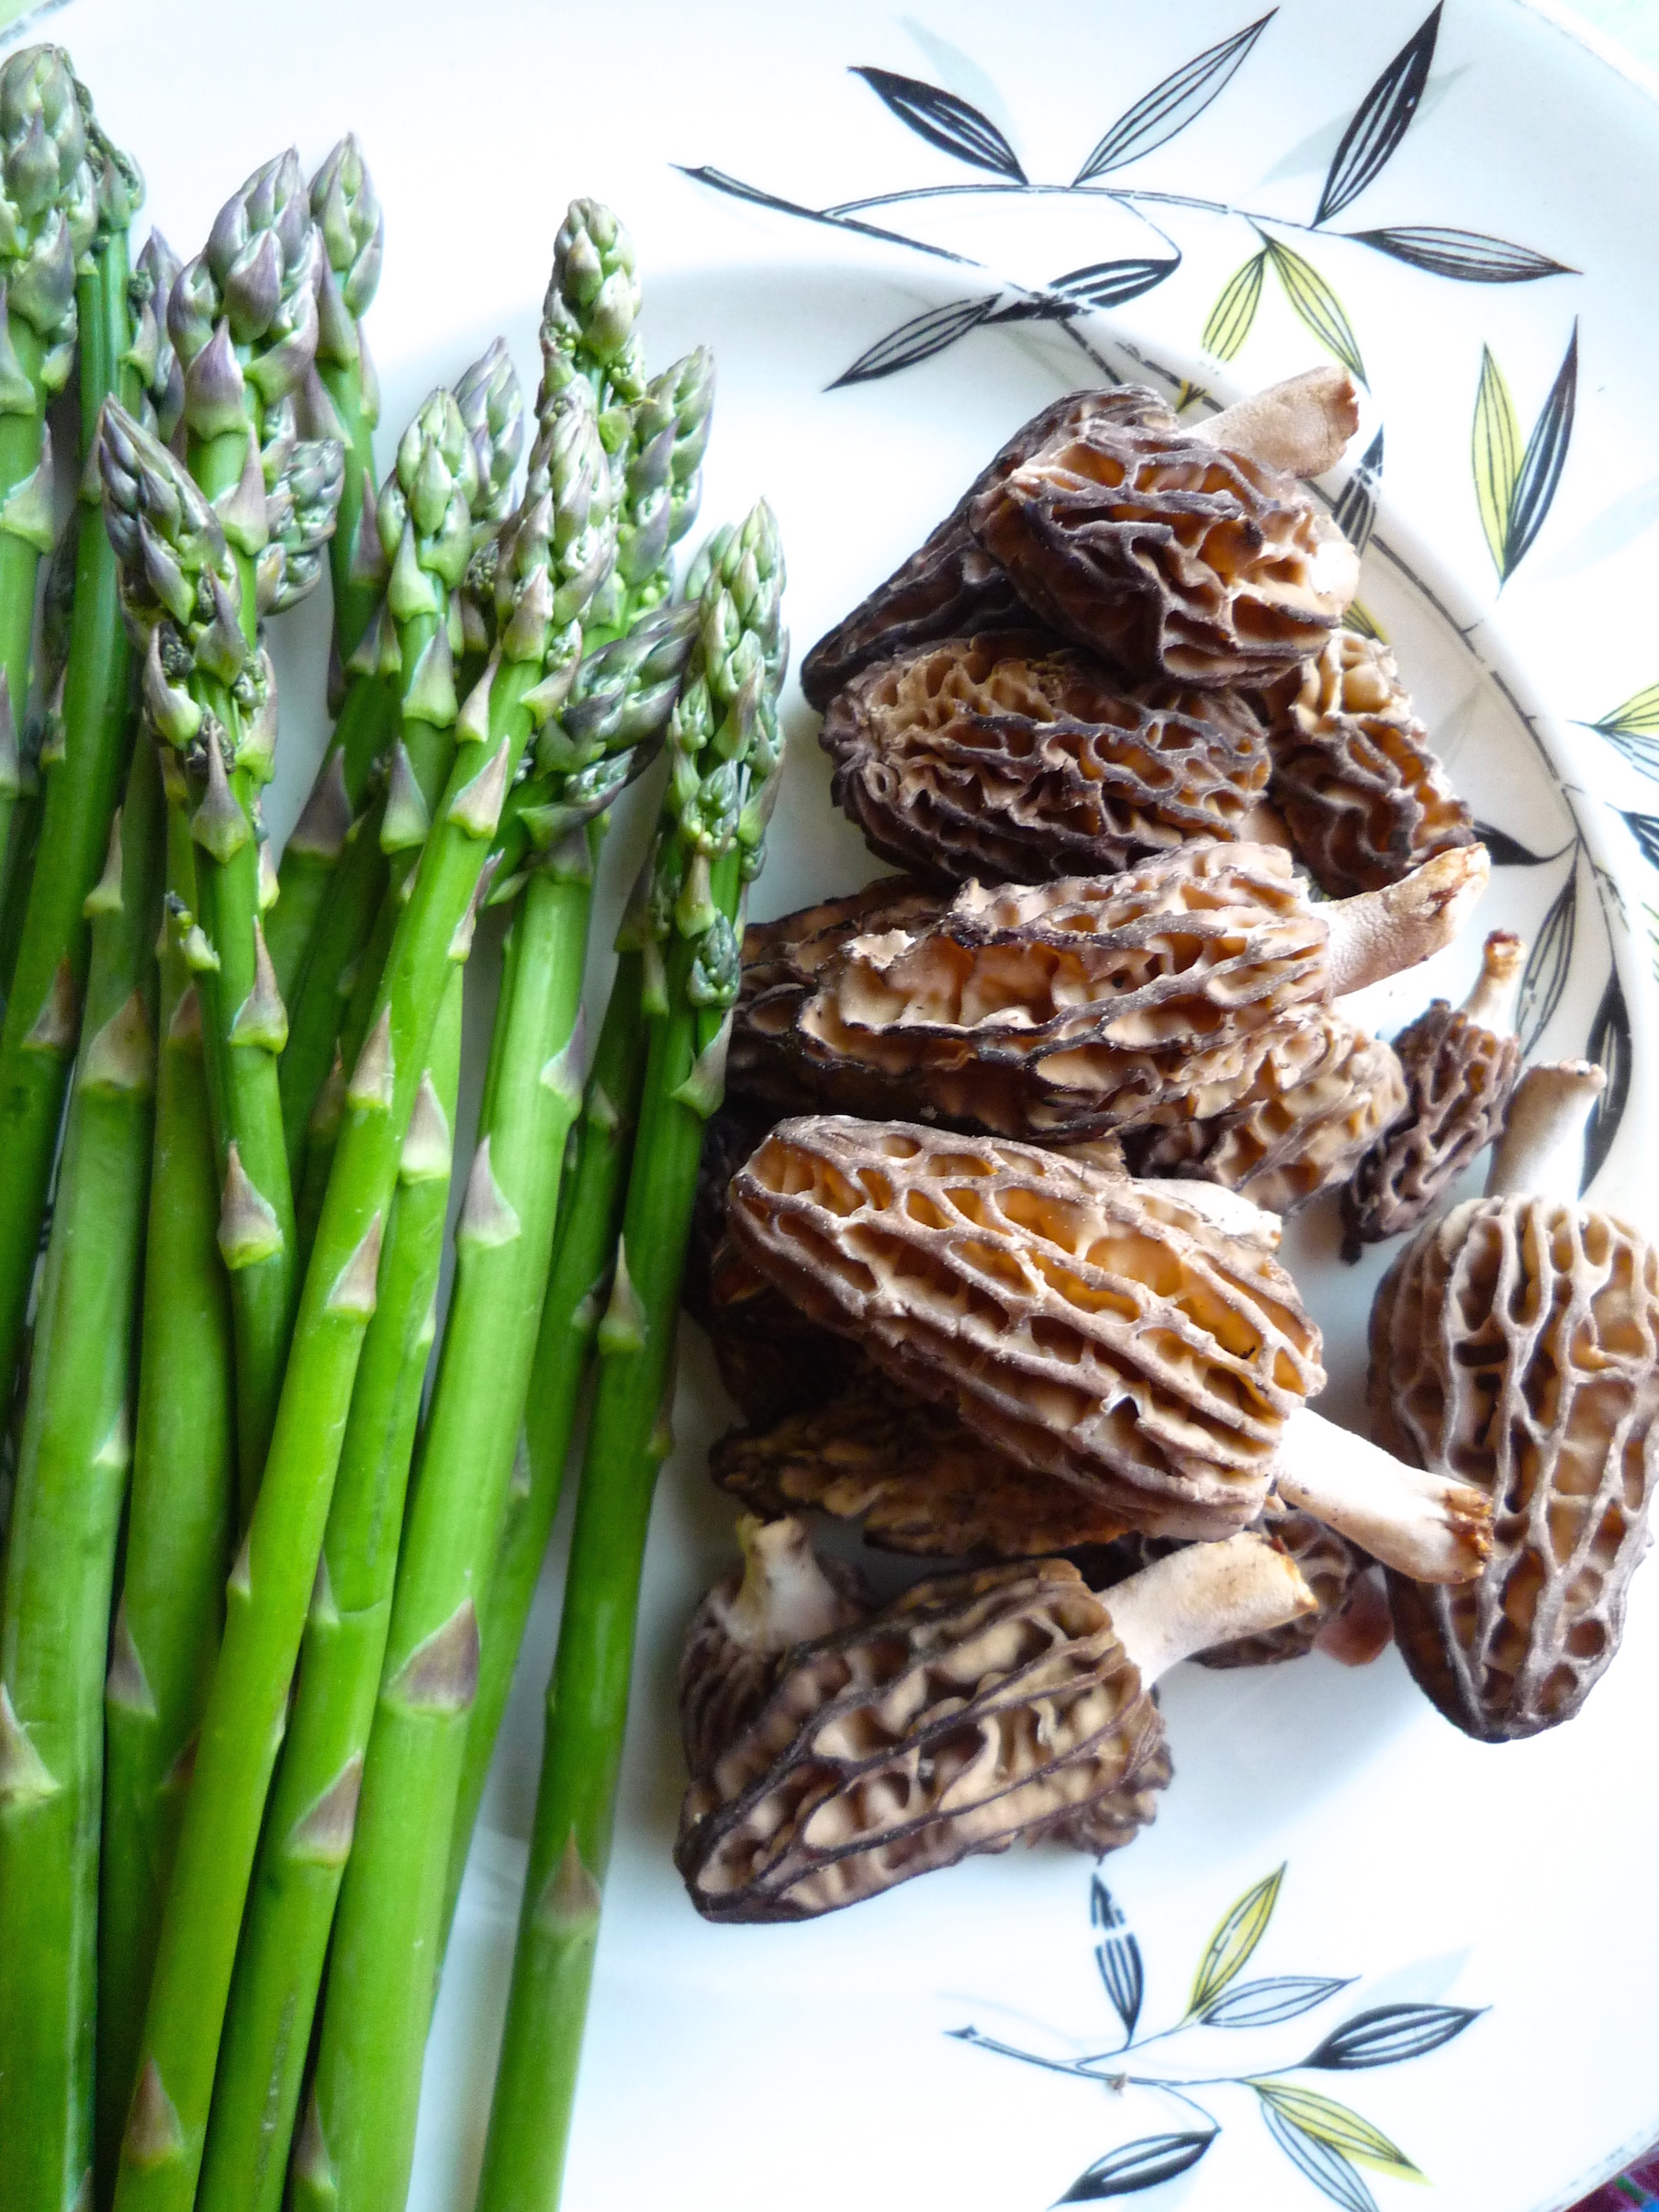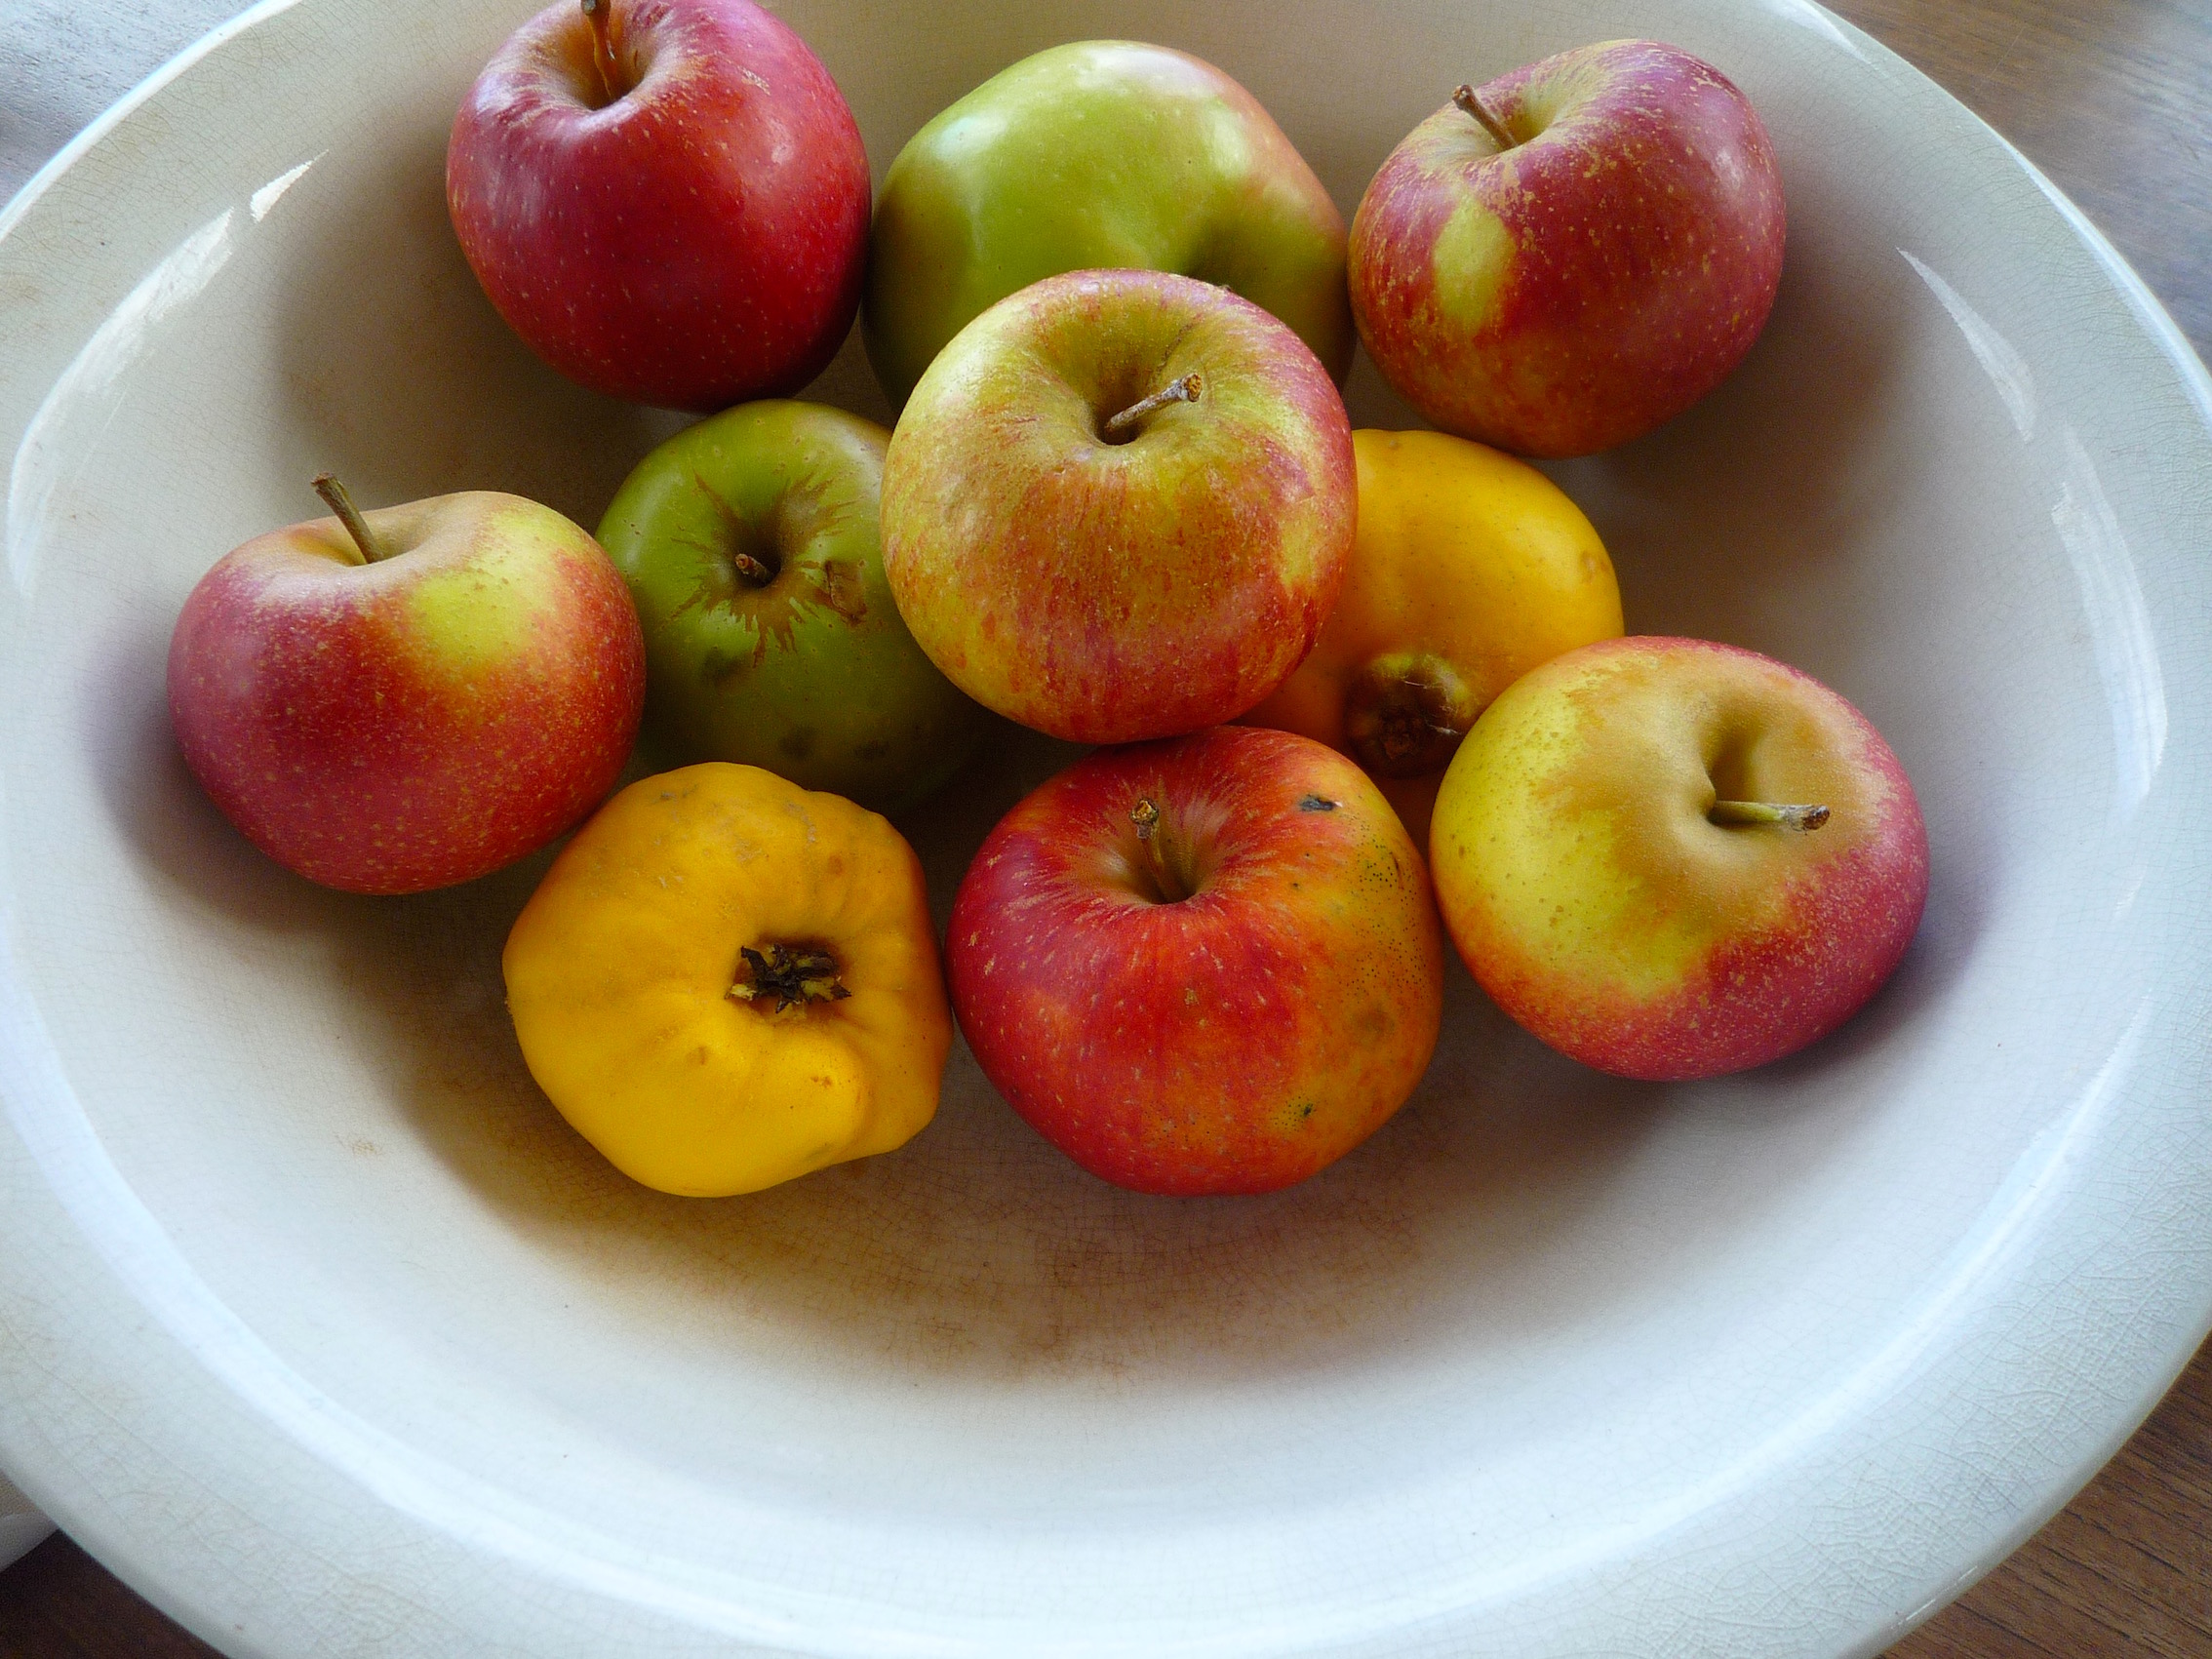
fig. a: autumn still life, Vermont
It may be better known for its dairy and its maple syrup, but if you're an apple lover--and I most definitely am*--Vermont stands out as a true Apple Paradise even in a region that's famed for its prodigious apple harvests (think Quebec, think New York, think Ontario).
For a relatively small state, with a very small population, Vermont produces a lot of apples. But even more impressive is the sheer variety of apples that are on offer at your local orchards, at your local farmers markets, and at your local co-ops. Check out the Onion River Co-op (a.k.a., City Market) in Burlington, or the Hunger Mountain Co-op in Montpelier if you really want to see an astounding selection of apples. Look for apples from Champlain Orchards or, better yet, Scott Farm, whose orchards are managed by a legendary orchardist named Zeke Goodband who hosts an annual Heirloom Apple Day every October over Columbus Day Weekend, drawing generously from the 110+ varieties (!) they produce.**
Hunger Mountain Co-op alone carries upwards of 20 different varieties of Scott Farm heirlooms at this time of year, in addition to a wide selection of non-heirlooms, like McIntoshes, Macouns, and Paulareds. Some of our favourites include Cox's Orange Pippin, Esopus Spitzenburg, Fameuse (the "famous" heirloom varietal of Quebec, and one that happens to be notoriously difficult to actually find in Quebec), Ashmead's Kernel, Northern Spy, and Belle de Boskoop, which may just be the ultimate apple for strudel and apple pie (Michelle certainly seems to think so these days).
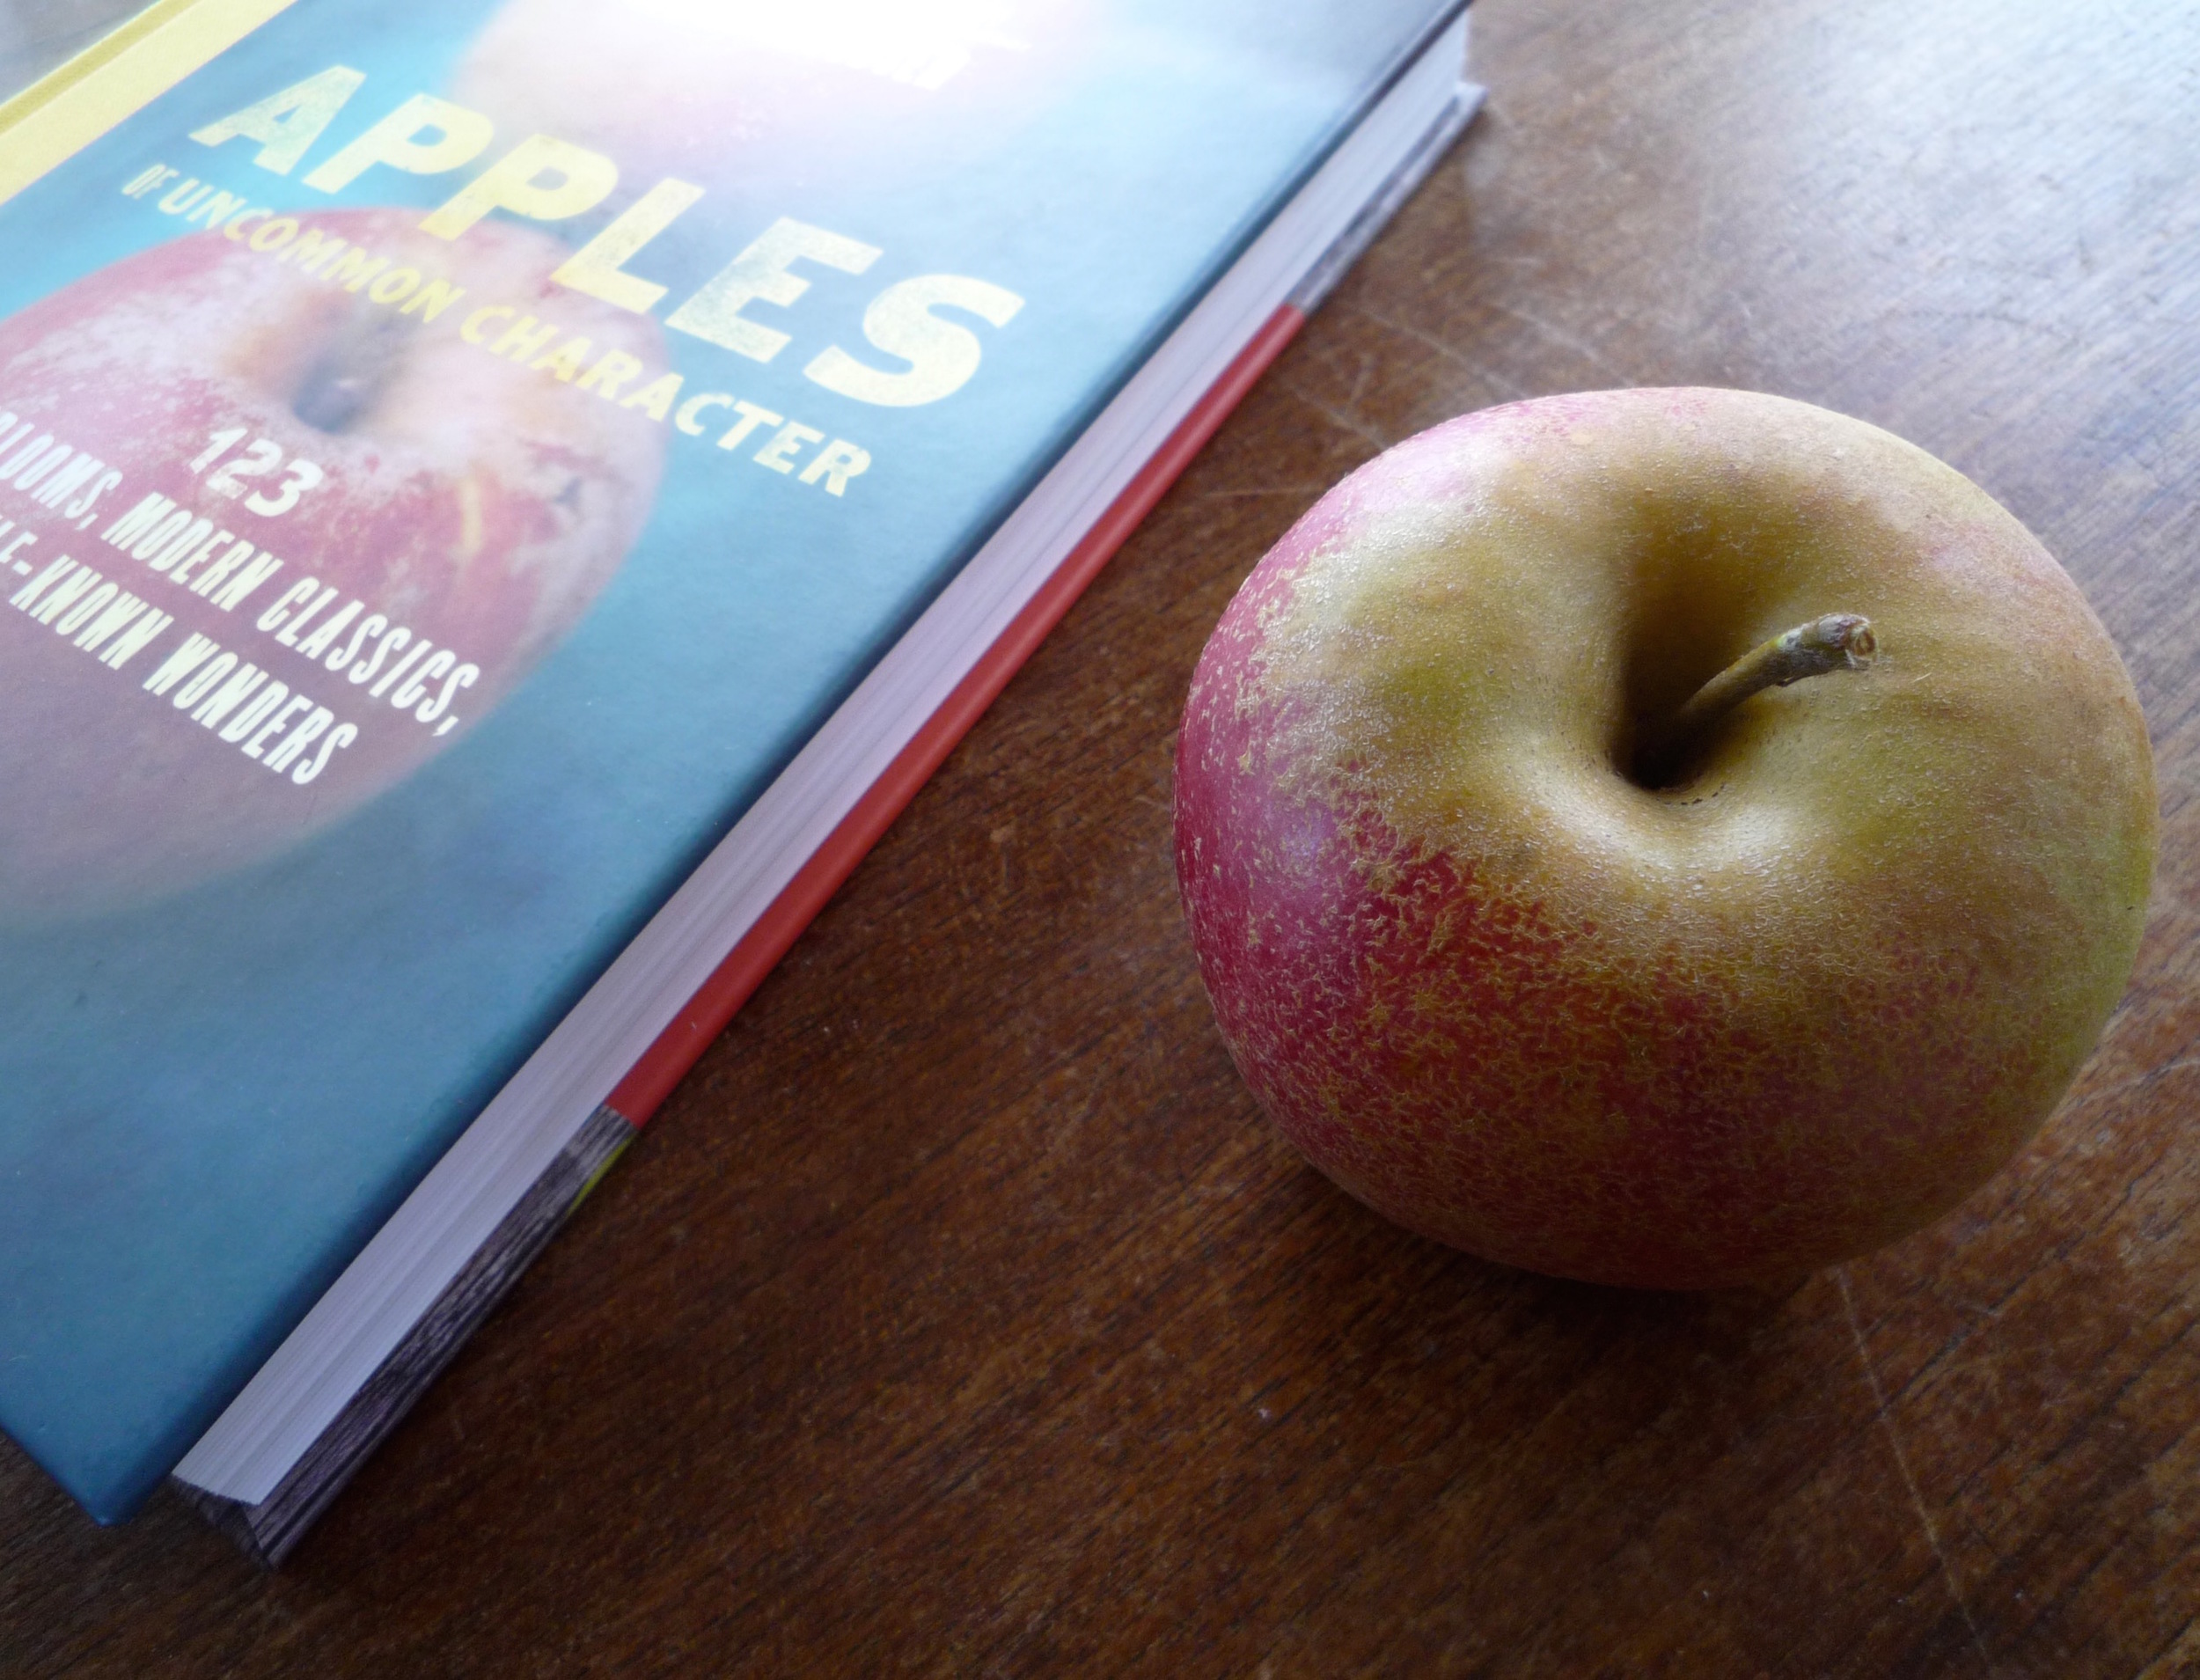
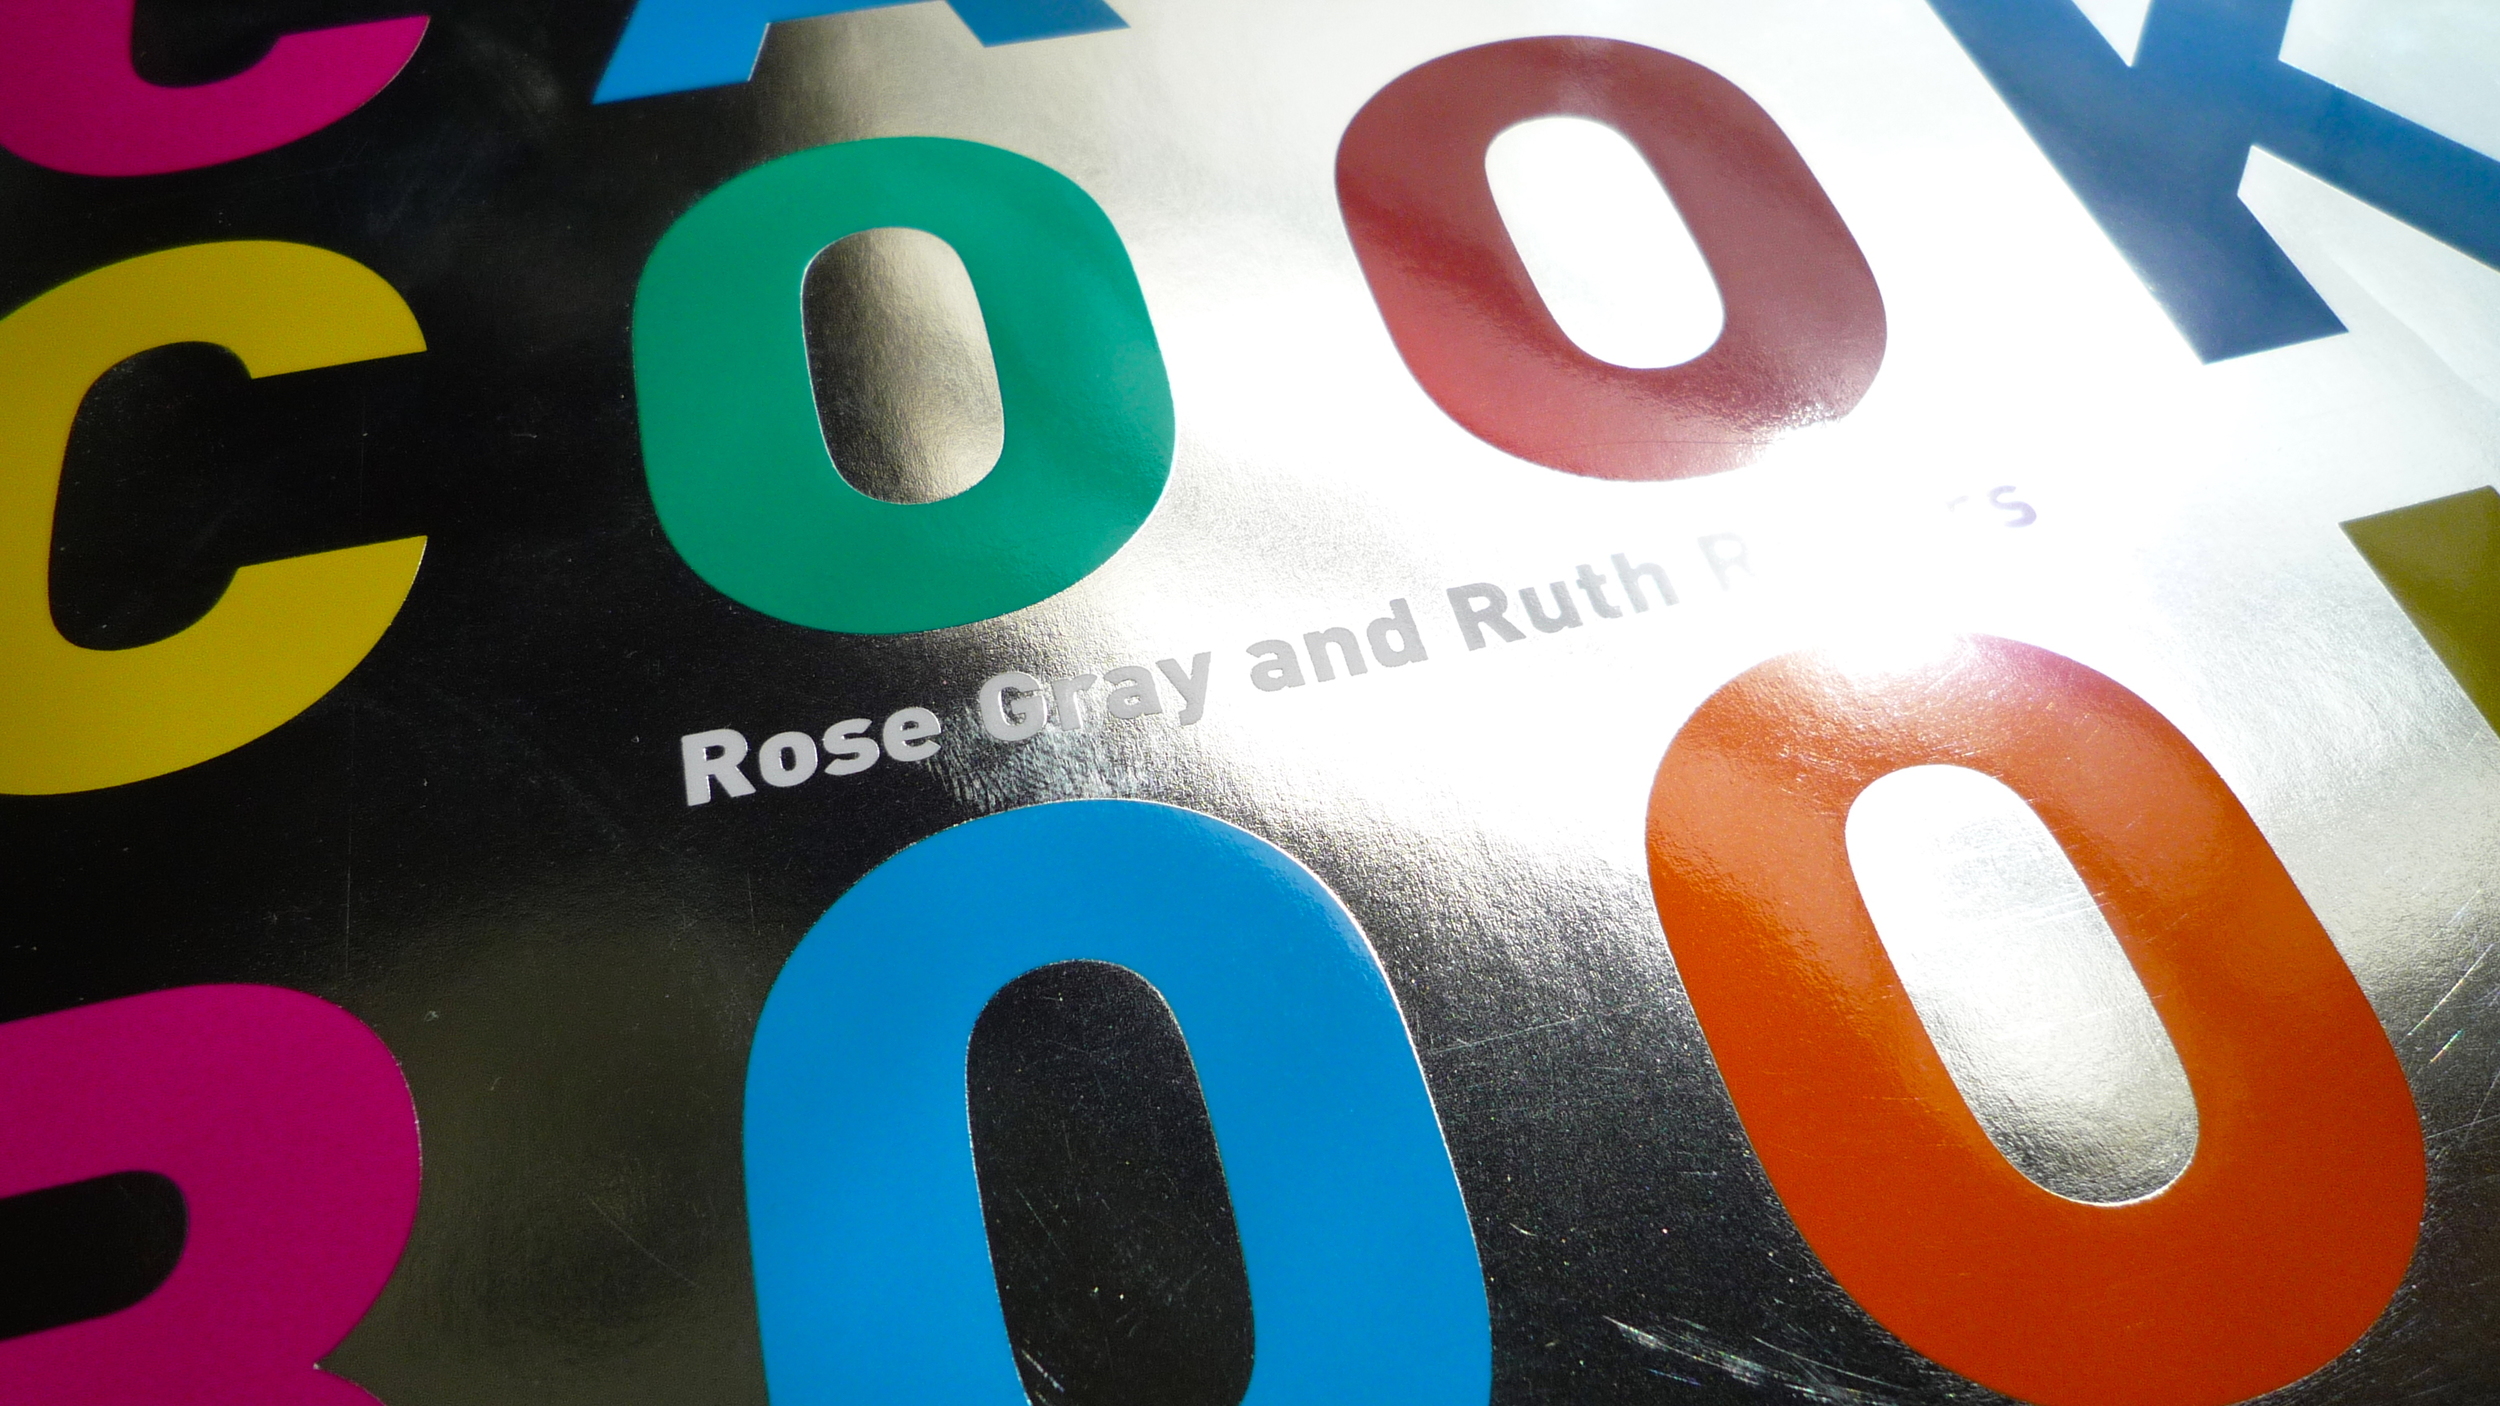
fig. b: apples of uncommon character
And if you'd like some help making sense of this cornucopia (we certainly did), there's no better guide than Rowan Jacobsen's Apples of Uncommon Character: 123 Heirlooms, Modern Classics, and Little-Known Wonders (Bloomsbury, 2014). As it turns out, Jacobsen lives in Washington County, Vermont, not far from our place, but we fell in love with his book before we knew that, and months before we actually got to know him and his family.
On some level, Jacobsen is a product of Vermont's apple obsession, as is his book. Jacobsen is an authority on the subject, and an amateur orchardist himself. But he also had access to a wide range of local and regional expert (including Goodband) when he was researching this book, and he didn't have to venture far to find most of the 123 varieties that Apples of Uncommon Character features.
In any case, Jacobsens's book is both fascinating and incredibly informative, and its categorizations (which varieties appear early? which are the best for baking? which make the tastiest cider? which keep the best in your cellar? etc.) are terribly useful for people like us who use apples in a wide variety of preparations (pies and desserts, soups and savoury dishes, preserves and pickles, salads, etc.). It's also beautifully written for a book that's essentially a field guide, not to mention lushly illustrated. And if all that wasn't enough, it ends with 20 sweet and savoury recipes, many of which are of an uncommon character themselves.

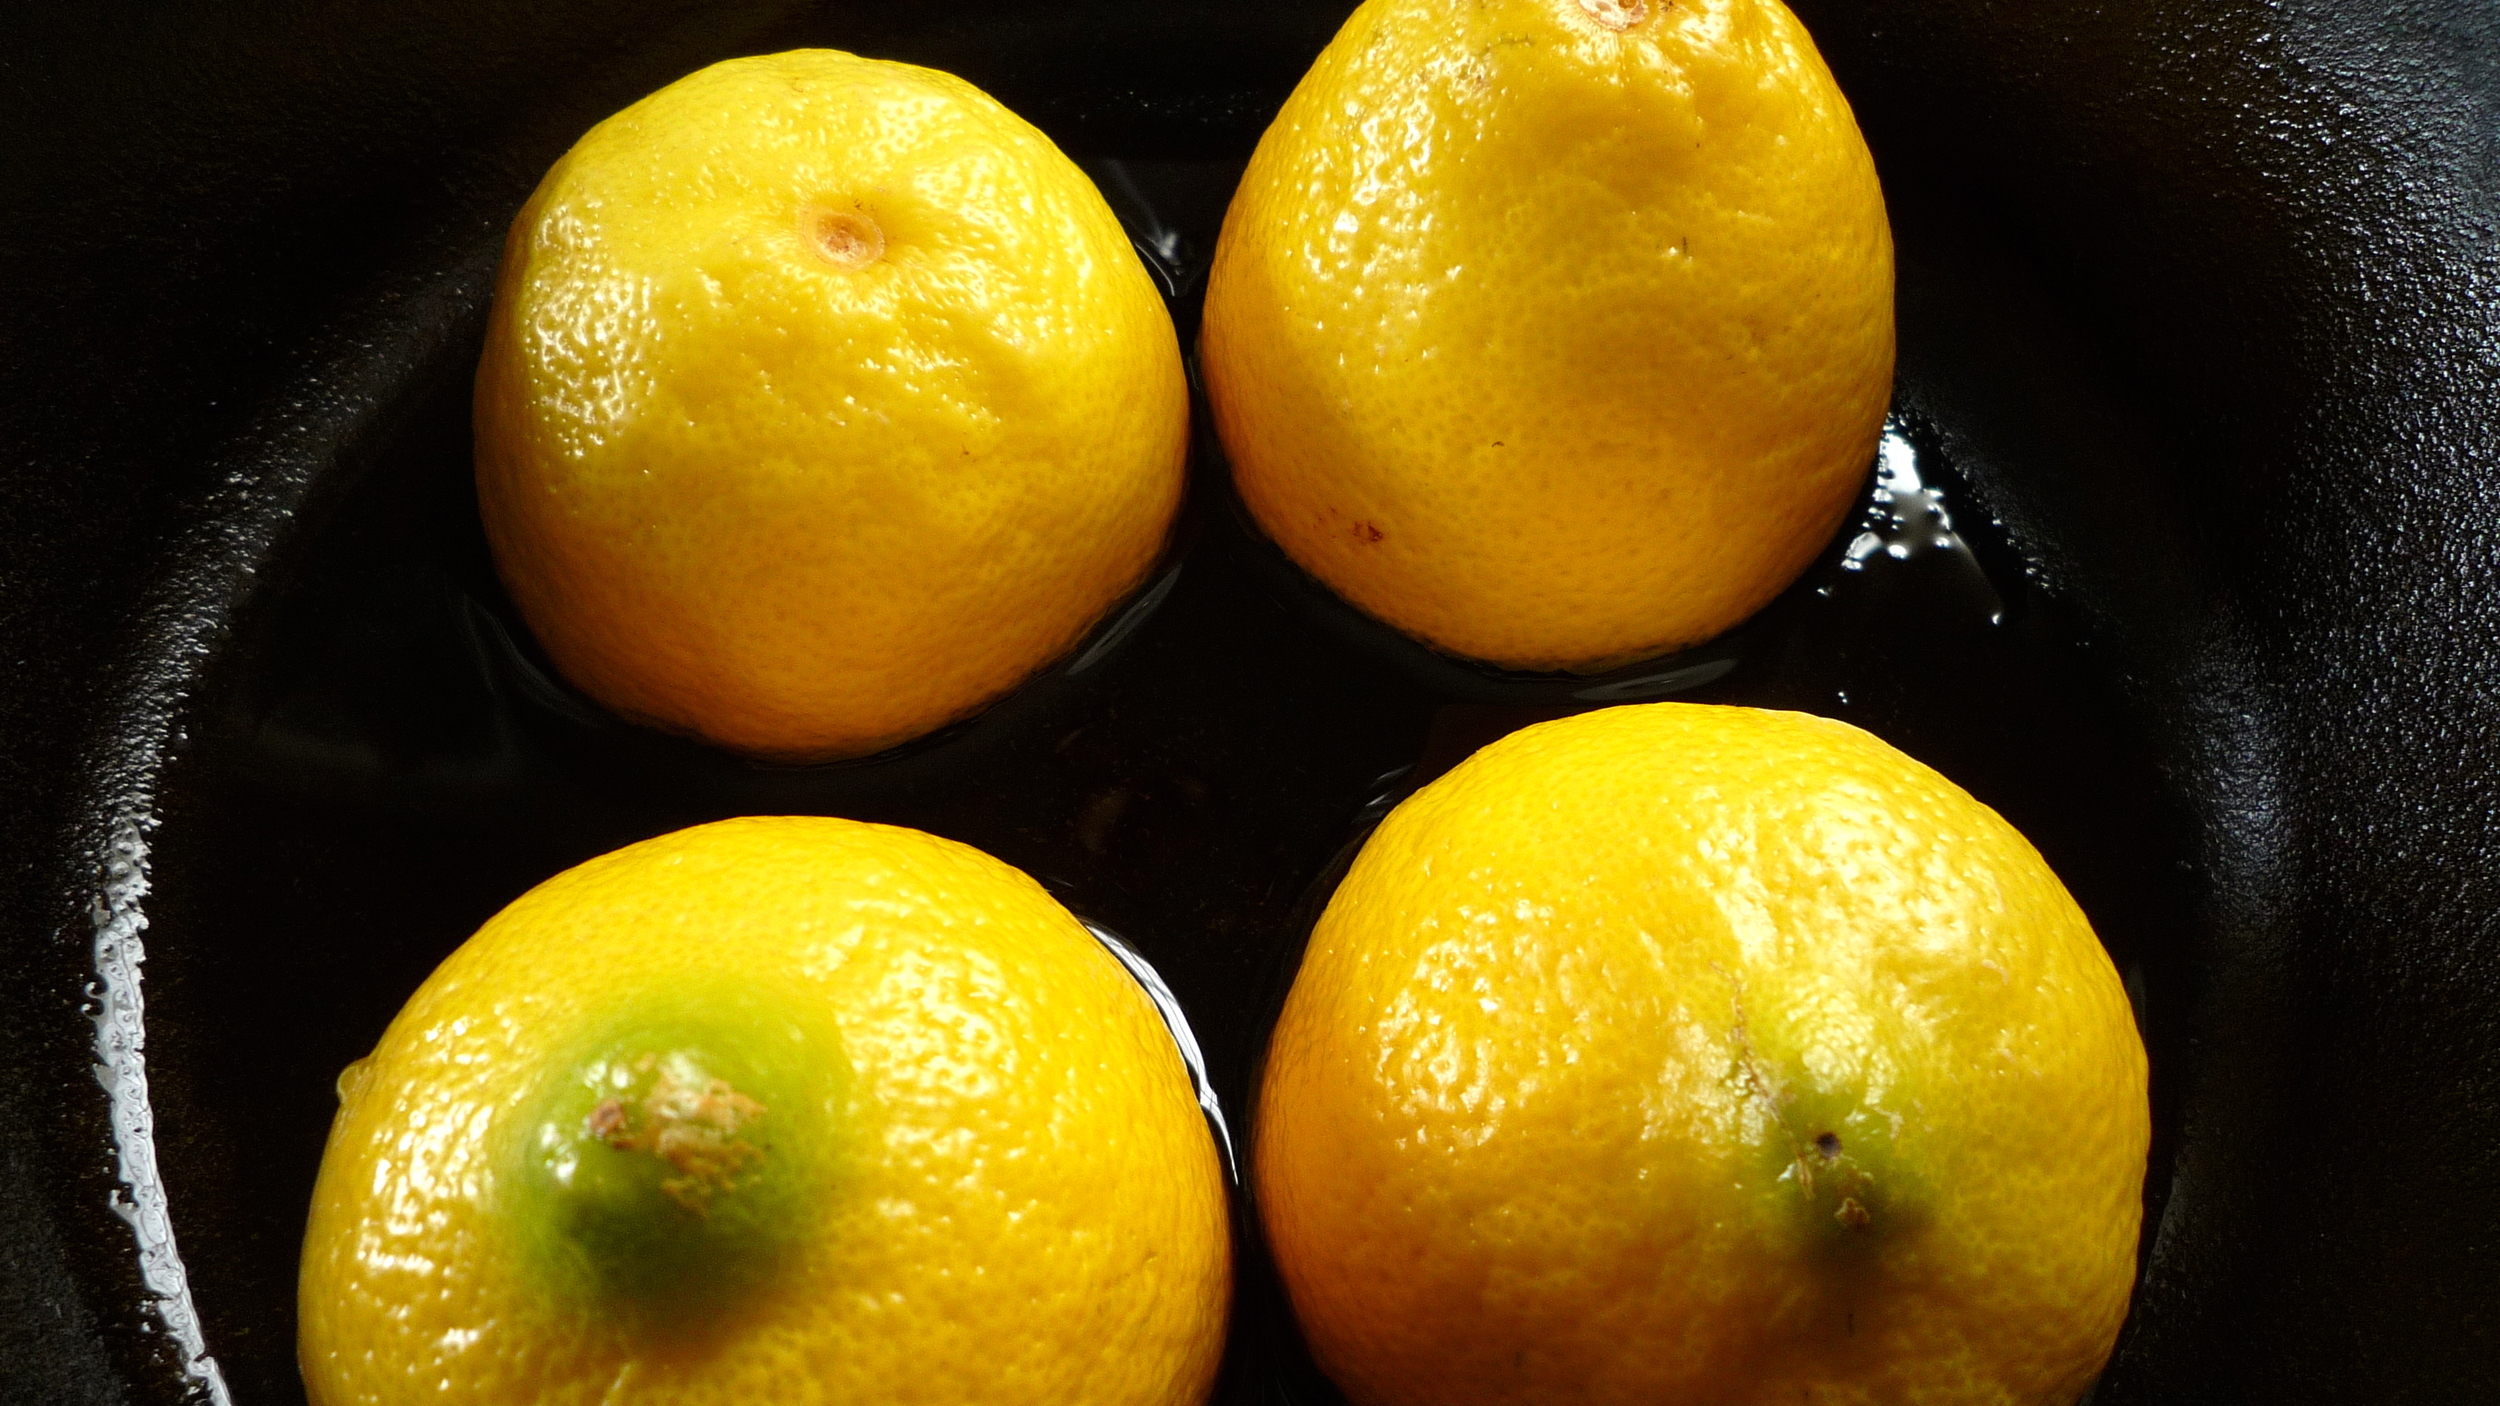
fig. c: the spy that came in from the cold
One of our absolute favourites from this book is a recipe that works particularly well with a somewhat tart apple, like a Northern Spy. It's Jacobsen's take on a classic dish from Asturia--Spain's famed cider-producing region--and one that is testament to the ages-old, but still passionate love affair between apples and pork: Chorizo with Apples. It only takes minutes to make, and it's insanely delicious. The addition of apple cider, makes the end result "more apple than apple." The combination of the warmth of the paprika, the sweetness of the apples and onions, the olive oil, and the pork fat makes for an utterly seductive sauce that you'll want to sop up every last drop of.

fig. d: apple hearts sausage
Chorizo with Apples
1 Tbsp olive oil
1 lb chorizo (preferably a high-quality Spanish version), cut into half-inch slices
1/2 onion, sliced
1 cup dry hard cider
1 apple (preferably something a little on the tart side, like a Northern Spy), cored and sliced
parsley for garnish
Heat oil in a skillet, add chorizo and sauté until brown. Turn and brown the other side.
Add onion and cider, cook 6 minutes, stirring occasionally.
Add apple and cook another 6 minutes, stirring, until sauce is thick.
Garnish with parsley and serve with a crusty loaf of bread, the better to sop up all that beautiful sauce with.
This dish is a perfect fall appetizer, especially served with a crisp hard apple cider or a crisp white wine on a crisp autumn evening. Lay it out with some sliced sourdough bread, a plate of mixed olives, and a small cheese plate, and your meal will be off to a fantastic start.
¡Salud!
aj
* At this time of year, when the apples are particularly fresh and crispy, it's not uncommon for me to eat 4 or 5 in a row after dinner, in addition to the 2 or 3 apples I might have at other times over the course of the day.
** We were so blown away by the Scott Farm apples we tried last fall, that this spring we took a pruning and grafting workshop with Mr. Goodband in the very early spring, when southeastern Vermont was still blanketed in snow. This being Vermont, not only was our workshop leader named Ezekiel "Zeke" Goodband, not only did he sport a beard worthy of the Old Testament, but his pruning and grafting lessons were delivered in the form of anti-capitalist parables.

fig. e: Grafting by Goodband
Lo and behold, a few months later, our apple trees blossomed in a way they hadn't in years.

fig. f: spring blossoms