It's a Disgrace

When we were kids, my sister and I were fans of Tomie dePaola’s Strega Nona. Who wasn’t back then? Back in the freewheelin’ '70s. Back before the conservative movement had launched its Inquisition to purge children’s literature of anything that might not be in step with its radical Christian fundamentalism. Back before even Strega Nona came under scrutiny. The book had just won a Caldecott Medal and had quickly become a beloved classic of children’s libraries across America. Of course, I had extra reason to be on board—Strega Nona’s assistant was a guy who went by the name of Big Anthony. Cool handle, right?
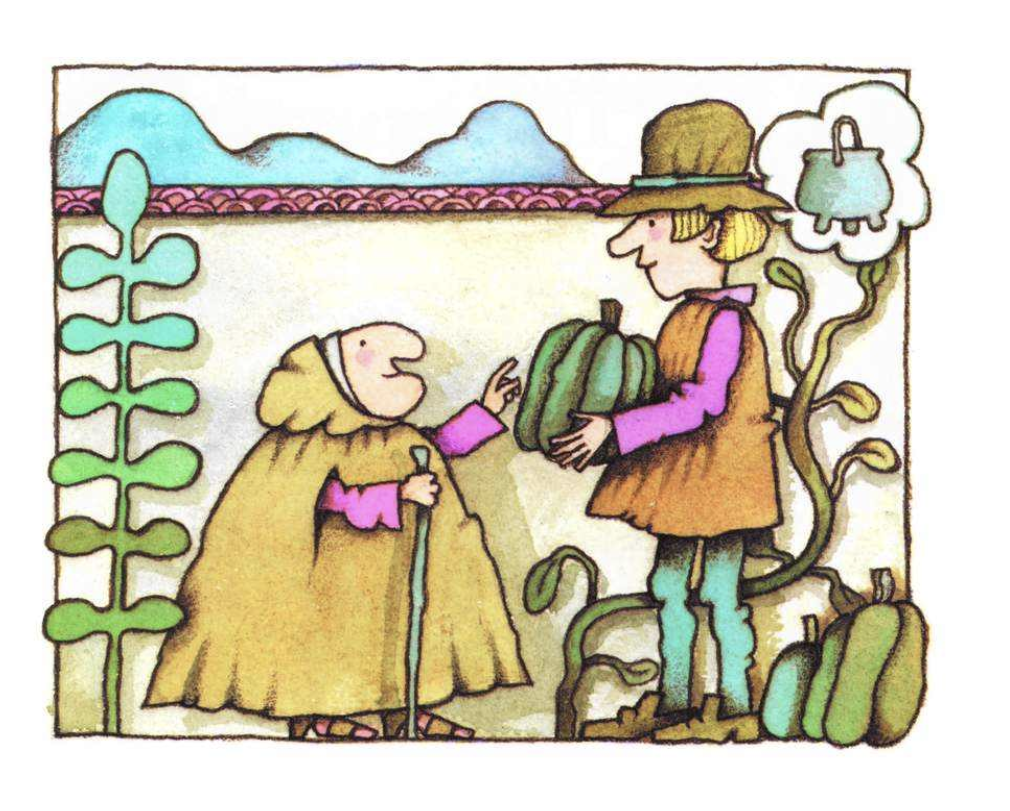
fig. a: Nona & Tony

Anyway, recently I found myself thinking about good ole Strega Nona and her witchy ways again for the first time in ages when I came across a tantalizing, revelatory recipe. Why Strega Nona?

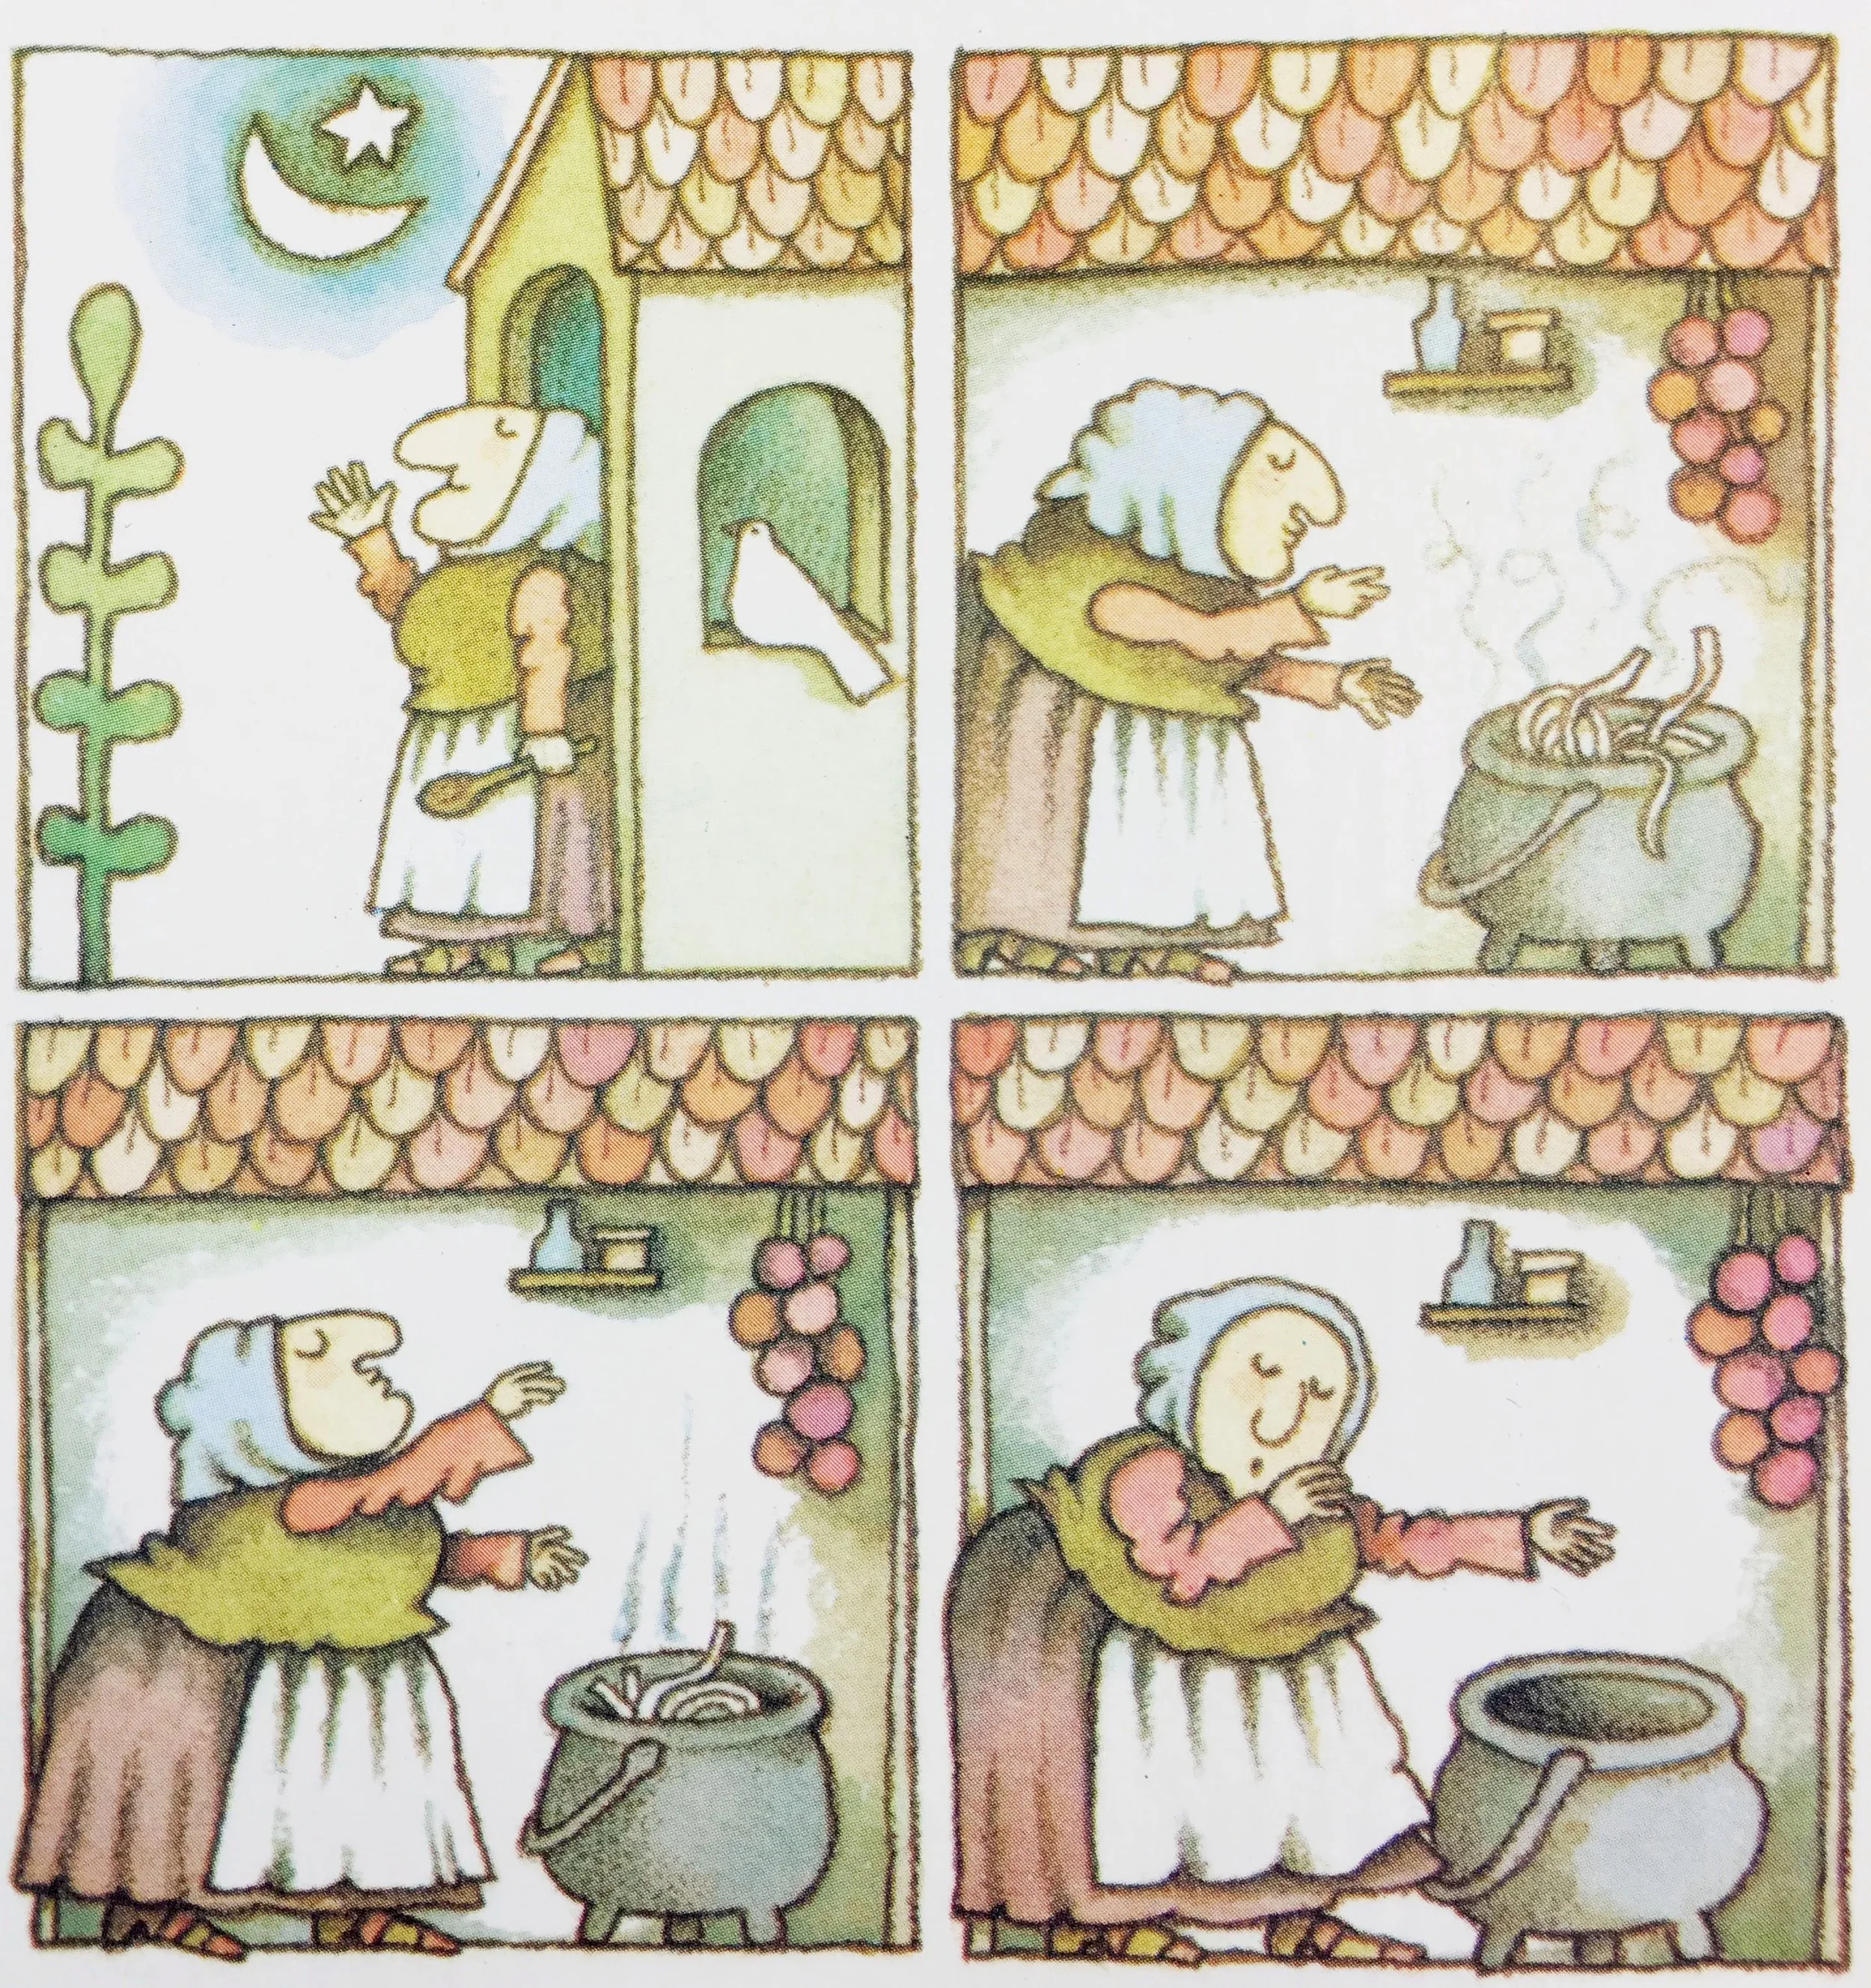
fig. b: Nona knows best

Well, it had something to do with the fact that it was a pasta dish that came with a “colourful” Southern Italian name, not unlike Strega Nona (basically “Grandma Witch”). Plus, you don’t need spells or a magic pasta pot to make it, but the dish is rather magical.

The recipe in question was for Rigatoni alla Disgraziata—”the poor wretch’s rigatoni.” (You’ll notice that, as they always are, this pasta dish is gendered feminine, so the “poor wretch” in question is a woman. That didn’t stop me from identifying with her. I mean, Big Anthony didn’t have any hesitations about hanging out with Strega Nona, did he?) The dish is a classic of the Sicilian repertoire, but I’d be surprised if variations aren’t also found in other parts of Southern Italy (like Calabria, Strega Nona’s home region), because it’s basically a simple, honest, and satisfying eggplant pasta dish, a “peasant’s dish,” a prime example of cucina povera. This particular version involves some cheese, but the breadcrumbs that are essential to its preparation would often be used as a substitute for cheese in poorer households. The two vegetables necessary to make the dish are eggplant and tomatoes, staples that virtually every Sicilian family would have had on hand (or would have easily been able to access, one way or another).

fig. c: eggplant & tomatoes

Use the best eggplants and tomatoes you can find—preferably out of your own garden—but the bottom line is this is cucina povera—the cuisine of the poor and of the frugal—use what you have. In my case, I found some gorgeous organic eggplant at the market, but I wasn’t so lucky with tomatoes, so I made do with canned ones.

And while the recipe that I used as a model was for rigatoni, I substituted in busiata instead, because that’s what I had on hand, because they hail from Sicily (Trapani and environs in Western Siciliy, to be specific, where they’re often used to make Busiate alla Trapanese), and because their worm-like shape seemed appropriate to the dish in question (and ideal for the lead-up to Hallowe’en).

figs. d & e: Busiata di Sicilia

My source was a beaten-up old copy of Saveur Cooks Authentic Italian (2001), from the heyday of the beloved magazine. It’s amazing what turns up again when you move, as I did recently, and it’s amazing how well a good cookbook (just like a good children’s book) stands the test of time. Now that my knowledge of Italian cuisine has expanded, now that I’ve spent a little bit more time in Italy, this collection of recipes seems even more vital than it did in the early 2000s. Its cucina povera game was always strong, however, something which was a distinct bonus back when I was a graduate student and which always endeared me to it. Why I’d never tried making Rigatoni alla Disgraziata is a mystery to me.

The technique that’s featured here and that I found “revelatory” is a simple one for preparing eggplant. Eggplant is famously difficult for so many home cooks who don’t come from a tradition of preparing, consuming, and enjoying eggplant. Sure, you’ve read that certain eggplant dishes are considered the pinnacle of vegetable cookery throughout the the Mediterranean region and beyond, but the issue of even choosing nice eggplants can be daunting for many, let alone transforming them into something majestic. And god knows improperly cooked eggplant is a horror.

In this case, I started with Japanese-style eggplants, which are often a safer bet than larger globe eggplants because they’re less seedy and they cook up quicker. The fact that these were local and organic and that I had great faith in the farm that raised them made them an even better bet.

Cubing the eggplants, generously salting and tossing the cubes in a colander, and allowing them to “sweat” for an hour or so is a standard method for removing the bitterness of untreated eggplant. Many recipes that involve Japanese eggplant don’t call for this step, but you still may want to go this route just to be sure (I did).

But the genius of the recipe has to do with pan-frying the eggplant in a generous amount of olive oil before it gets anywhere near a sauce. The idea is to transform the cubes into golden little jewels of flavour that are lightly crispy on the outside and positively melty inside. By the time this step is completed, the eggplant is already delicious, but it’s ready to become even more so when tossed with your sauce, your pasta, and your cheese.

This technique is useful in a wide range of contexts and recipes. For instance, Michelle has been using a variation on this technique (she chops the eggplants differently and cooks them in a different type of oil) for some of her Japanese dishes for years. Like I said, once you’ve prepared the eggplant in this manner and seasoned them, they’re already delicious, anything else you do to them is extra.

But in this case, the eggplant formed the basis of a rustic pasta dish:

Busiate alla Disgraziata

3-5 small Japanese eggplants, or 2 medium globe eggplants, trimmed and cut into cubes

Kosher salt

1/2 cup plus 2 tbsp extra-virgin olive oil

1 cup fresh bread crumbs

1 lb busiata or rigatoni

1/4 tsp red pepper flakes

2 cups tomato sauce, preferably homemade

1/4 cup grated pecorino or ricotta salata

freshly grated Pamegiano-Reggiano

Put the eggplant in a colander, sprinkle liberally with salt, and toss to coat well. Allow to drain for 1 hour to “sweat” and extract bitterness. Rinse the eggplant and pat dry with a clean kitchen towel or paper towel.

Heat 2 tbsp of olive oil in a large, heavy skillet (I used a 10” cast-iron one) over medium-high heat. Add bread crumbs and cook, stirring, until golden, about 2-3 minutes. Transfer to a bowl and set aside.

Wipe out the skillet with paper towel, add remaining 1/2 cup* olive oil, and re-heat over medium-high heat. Add half the eggplant and cook, stirring and flipping the cubes often, until golden, 8-10 minutes. Transfer eggplant with a slotted spoon to a large bowl and season to taste with salt. Repeat process with remaining eggplant.

Cook past in a large pot of boiling generously salted water until al dente. Add red pepper flakes to tomato sauce in a small pot and warm over medium heat, 4-5 minutes. Drain pasta in a colander and add to bowl with eggplant. Add tomato sauce, pecorino or ricotta salata, and bread crumbs and toss well.

Serve sprinkled with Parmigiano Reggiano, accompanied with a glass of red wine, some chili oil, and a green salad.

[Based very closely on a recipe from Saveur Cooks Authentic Italian (2001), by the Editors of Saveur Magazine]

The final product should look something like this:

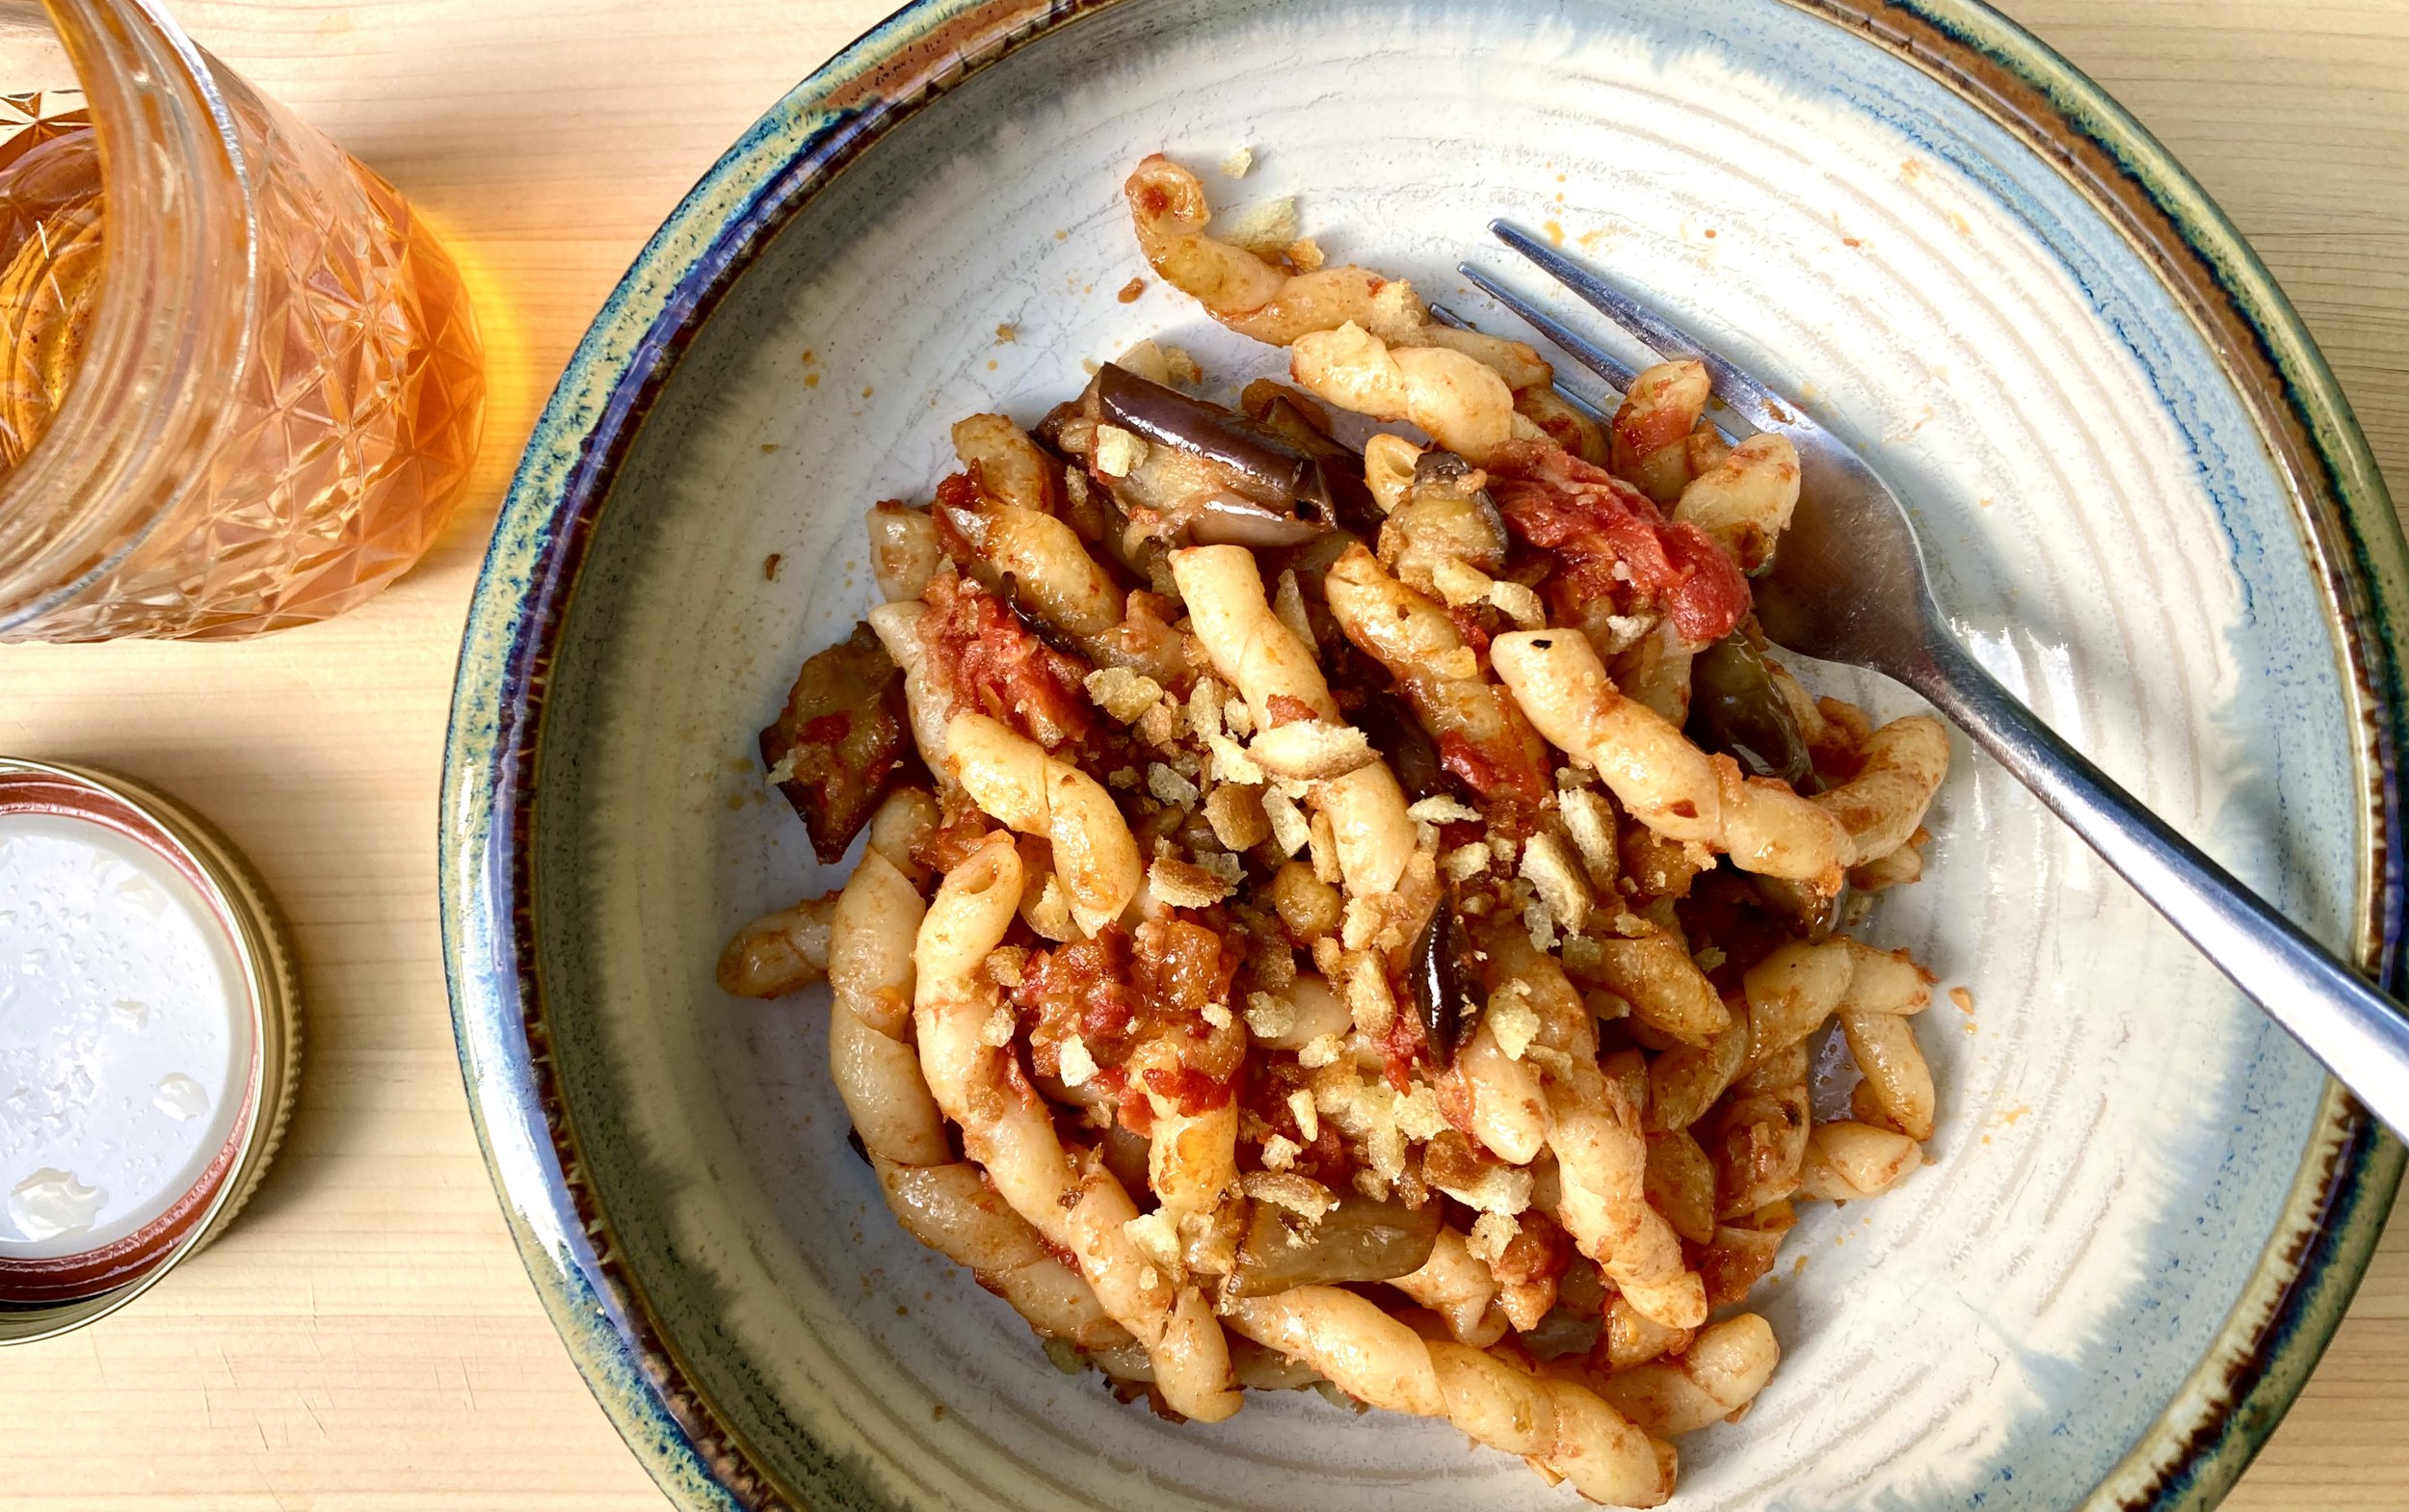
fig. f: Busiate alla Disgraziata

I found it deeply satisfying, perfect for the late harvest season, and not a disgrace in the least. Quite the contrary. To me it’s quite beautiful, and I wish I had a magic pasta pot that was capable of producing vast quantities of this utterly delicious dish. But even more important is the magical transformation that is at the heart of this recipe, and that blesses it with heart. Like all great cucina povera—like all great “peasant food,” in general—it’s a dish that glories in creating “something” out of “nothing”—something wonderful.

Big Anthony

  • Note: the original recipe calls for 1 cup of olive oil. If you’re using an even larger skillet, you may need to use more olive oil than I did—up to 1 cup. But for a 10” skillet, I found 1/2 cup was ideal.
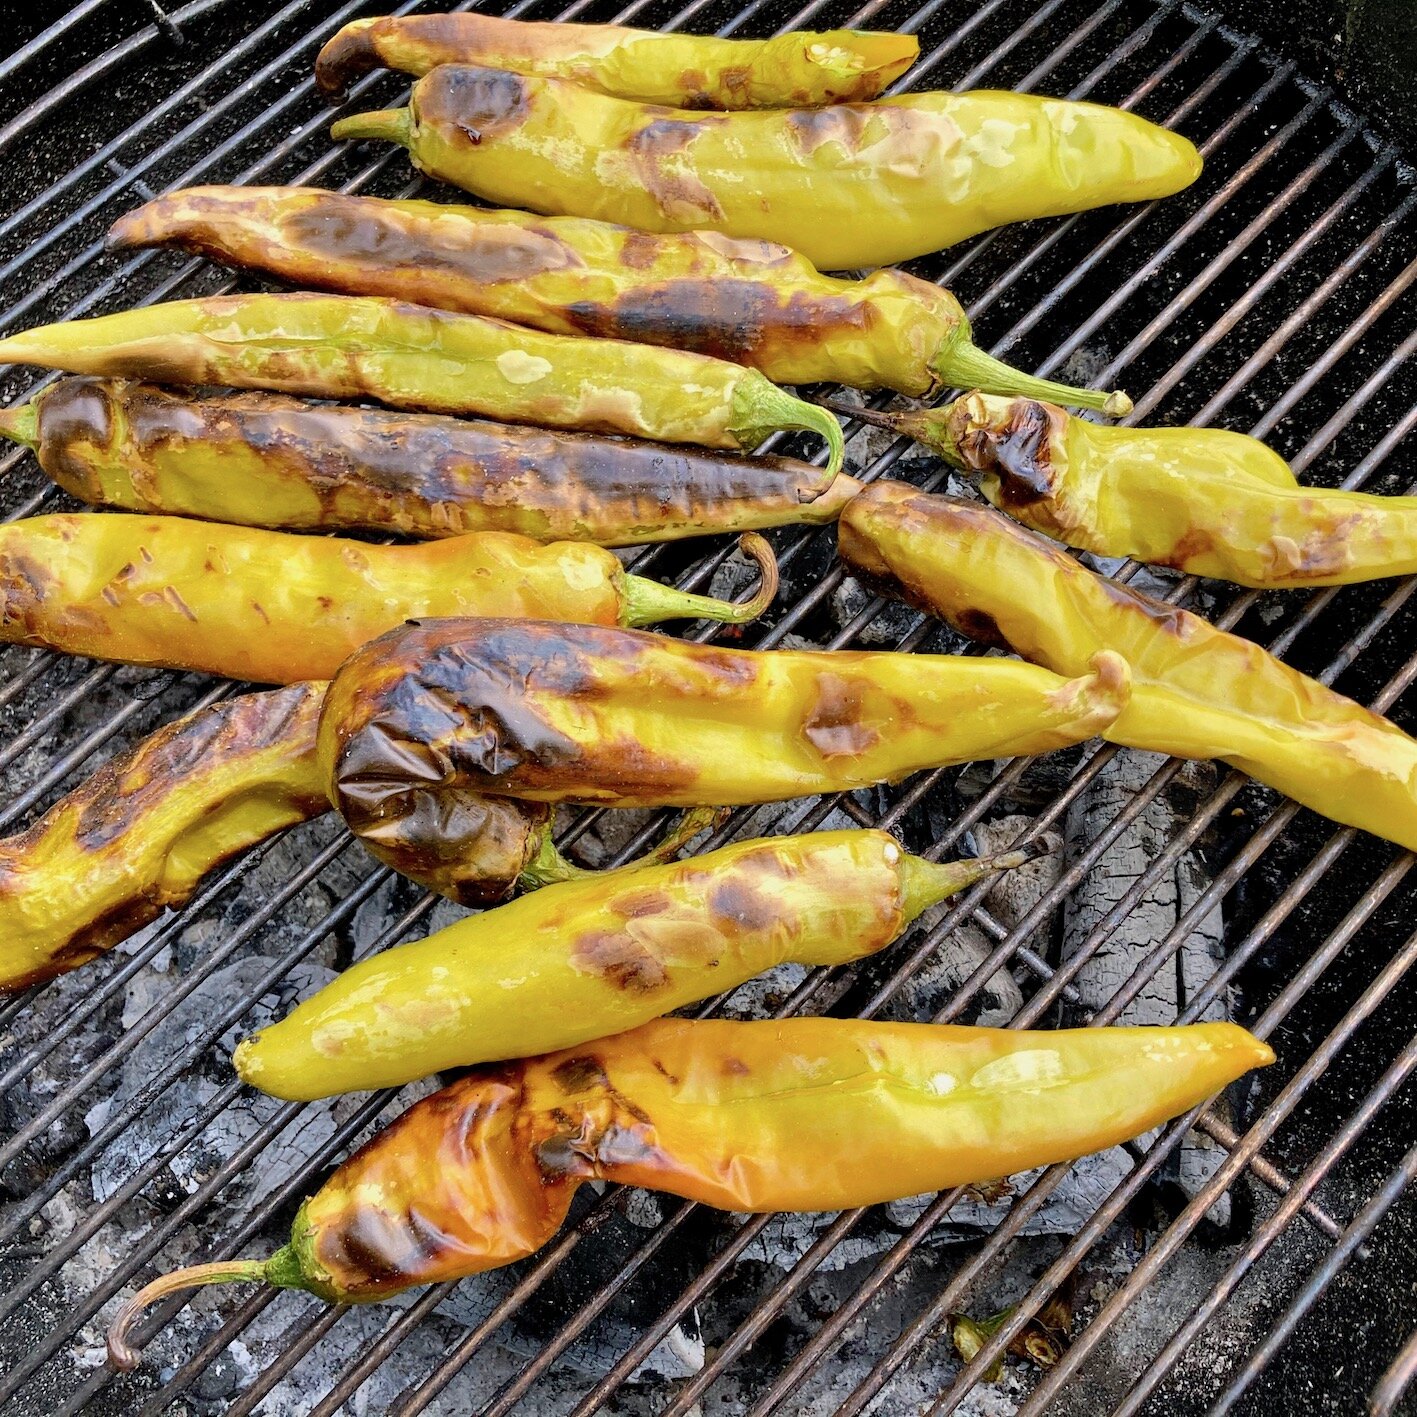
Hatch: A Plan

 
fig. a:  those other Chi Peps

fig. a: those other Chi Peps

Long-time readers of …an endless banquet will surely recall our deep, deep love for all things green chile.  Actually, long-time friends of …an endless banquet might also be familiar with our [ed:  well, Michelle’s, actually] deep, deep love of the Chi Peps—Los Angeles’s Red Hot Chili Peppers.  But here I want to address those other Chi Peps:  New Mexico’s Green Hot Chile Peppers.  

Much of that love was first inspired by a game-changing trip I paid to the Land of Enchantment back in the 1990s.  That was the first time I experienced the Cult of Green Chile full-on.  I had it on eggs, in burritos, smothering home fries, on enchiladas, and in countless other ways, for breakfast, lunch, and dinner.  The Green Chile Ritual never grew old for me, and I’ve never really shaken it.  

fig. b:  The Cult of Green Chile

fig. b: The Cult of Green Chile

In fact, I’ve been trying to replicate it, thousands of miles from New Mexico, for many years now without the benefit of the very peppers that are the essence of the Cult of Green Chile:  genuine Hatch chiles.  Not the ones that you can find in the little tin cans in supermarkets across America (although, god bless ‘em—those  do come in handy sometimes), but the entire spectrum of green chiles (mild, medium, medium-hot, hot, and extra hot) that are famously grown in and around Hatch, NM—in the southern part of the state—versions of which have been a staple of the regional cuisine for centuries.  

fig. c:  fire-roasted green chiles

fig. c: fire-roasted green chiles

The preferred way of preparing these treasured peppers is to roast them over a fire—traditionally, a wood fire, but these days frequently a propane flame—peel them, seed them, and then make a salsa with them.  This is the “green chile” that then appears in countless New Mexico specialties, from enchiladas to cheeseburgers, and everything in between.

In New Mexico, in the late summer and early fall, you can find makeshift chile roasting operations scattered all across the state, often in the parking lots of local supermarkets.  Your chiles are roasted before your eyes in an oversized tumbler, and a minimum order is 20 pounds of peppers.

I’ve always wanted to visit New Mexico at this time of year to witness this spectacle with my own eyes—I mean, what better time to experience the Green Chile Ritual once again? I became even more fixated on this plan after reading David Tanis’s account of his visit to Hatch and environs at the height of Green Chile Season in Saveur a few years back.  Initially 2020 seemed like it might be the year that would bring a return visit to New Mexico, just in time for the Hatch Green Chile Festival—just like Tanis—but then everything about this year changed quite drastically.

However, a few weeks ago, it occurred to me that if you can’t actually go to the festival, maybe you could try to bring the festival (or at least part of it) home.  After all, fields had been planted.  A crop was due to be harvested.  So I did the logical thing and reached out to The Hatch Chile Store, and the next thing I knew I had 25 pounds of freshly picked peppers en route to me via express delivery.

The Hatch Chile Store offers a number of different peppers to choose from—from mild “1904” chiles to extra-hot “Lumbres”—but I opted for their Big Jims.  Tanis describes this variety as, “large, fleshy, [and] moderately hot.”  I’m not sure how Big Jim feels about that, but I knew this was a popular variety—one that’s got a reputation for being particularly meaty, and particularly easy to peel (win-win).

fig. d: “large, fleshy, [and] moderately hot”

fig. d: “large, fleshy, [and] moderately hot”

Sure, you could order genuine Hatch chiles (including Big Jims) roasted, peeled, and seeded—either canned in jars, or frozen—but what would be the fun in that?  I wanted to smell that “fire-roasted green spirit” Tanis had written about.  Plus, I’ve always loved firing up the grill and roasting peppers for my improvised non-Hatch green chile concoctions—why wouldn’t I want to do the same with the real deal?  

fig. e: peek-a-boo

fig. e: peek-a-boo

That box of Big Jims showed on a Thursday afternoon.  By that evening, I’d already roasted about twenty of those bad boys, made my first batch of genuine Hatch green Chile salsa, and used it to dress a smoked pork burrito.  And by the following afternoon—using a battery of three BBQs—Michelle and I had roasted, peeled, and seeded the remaining 20+ pounds of peppers, and packed them in Ziploc bags to keep in the freezer.  

fig. f: three grill day

fig. f: three grill day

The yield is far less than 25 pounds of green chile fillets and strips, of course—the stems, seeds, and peels all weigh something, and the peppers lose some moisture in the process of being roasted.  But the chiles also gain a considerable amount of flavour in the process—and the result is simultaneously sweet, spicy, smoky, bitter, and herbaceous, and utterly addictive.

If ordering chiles online seems like too much of an ordeal (and an expenditure) for the taste of green chile, who knows?  Maybe there’s someone in your locale who’s growing some actual New Mexico chiles and bringing them to market.  If you happen to be in Montpelier, VT at this time of year, you can always drop by the farmers’ market and visit the LePage Farm stand.  You might not find 25 pounds of Hatch peppers, but you will find a basket full.

And if not, as I’ve detailed elsewhere, you can make something approaching a New Mexico green chile salsa with other more readily available peppers:  like Anaheims, Poblanos, Cubanelles, Serranos, and Jalapeños.  At the very least, you can make use of the wonderful local onions and garlic that are so plentiful in so many parts of North America right now when you do.

Green Chile Salsa

1 medium onion (preferably sweet) chopped

1 tbsp olive oil

1 clove garlic, minced

1/2 cumin seeds, toasted and ground

fire-roasted green chiles

tomatillos (optional)

chicken broth or water

1 tsp masa harina

salt and pepper to taste


Sauté your onions in the olive oil until nice and soft.  Add your chopped garlic and some toasted and ground cumin seeds.  Add your roasted green chiles, some tomatillos, if you're using them, and your chicken broth.  Be judicious with your use of liquid (chicken stock or water).  You don't want to add too much, but the idea here is to add enough that you can cook your sauce down, uncovered, reducing it into a thing of beauty.  This shouldn't take all that long.  No more than about half an hour, if you've added the right proportion of broth/water.  And keep in mind that if you’re using tomatillos, they will give off quite a bit of liquid. If you go that route (and it’s a wonderful path to take), it’s up to you to decide what your ratio of green chiles to tomatillos should be, but I would recommend about 3:1 (e.g., 1 1/2 cups of green chile strips and 1/2 cup of tomattilos). Any more and you’re really making a salsa verde, and not a green chile. Add a sprinkle of masa harina toward the end of this process if you'd like to thicken your sauce further and give it a bit of depth.  The goal here is to create a fairly thick, chunky sauce that will be ideal for everything from dipping chips into to dressing a burger.  And, like I said, it ought to taste like a thing of beauty, too.

This is another absolute classic, and one that was hugely inspired by a recipe from David Tanis’s A Platter of Figs And Other Recipes. Respect is due!

Green Chile Stew

5 pounds well-marbled boneless pork butt, cut into 2-inch cubes
salt and pepper
2 tbsp vegetable or olive oil
2 large onions, finely diced
4 to 6 garlic cloves, chopped
2 tsp cumin seeds, toasted and finely ground
1/2 cup chopped tomatillos, fresh or canned
6 large carrots, peeled and chunked
1 cup chopped roasted green chiles*
1 tbsp masa harina
8 cups water or chicken broth
chopped cilantro
hot corn or flour tortillas, to serve

Season the pork with salt and pepper.  Heat the oil in a large Dutch oven or other heavy-bottomed pot.  Add the meat, in several batches, without crowding, and brown it lightly.  Transfer to a platter or tray. 

Add the onions to the pot and brown them.  Add the garlic, cumin, tomatillos, carrots, and green chiles, then sprinkle the masa harina over and stir.  Salt the mixture, then return the browned meat to the pot and stir well.  Cover with the broth and bring to a boil. 

Cover the pot, turn the heat to low, and simmer gently for 2 to 3 hours—until the pork is tender and shreds easily. 

Taste the broth and adjust it, adding salt or more green chile as necessary.  The broth should be well seasoned and fairly spicy.  Simmer for another 30 minutes or so, until the pork is exceedingly tender. Skim any fat from the surface of the broth. 

Let the stew rest for an hour or more.  Refrigerate overnight if desired (this allows the flavours to meld even more). 

To serve, reheat the stew and ladle into warmed bowls.  Sprinkle with chopped cilantro and accompany with hot tortillas. 

Serves 8 to 10. 

* Tanis notes that it takes about 12 large fresh chiles to produce 1 cup of chopped roasted chiles.  It's preferable to grill them over an open fire, but you can also blacken them under the broiler or directly over a gas burner, in a pinch.

Green Chile Stew is quite literally a dish that makes people crazy. I’ve seen it happen. People go back for 3, 4, 5 helpings if you’re not careful. Be careful. You’re going to want some leftovers. Trust me.

aj

Pizza, Bibles, and Blossoms


If Ken Forkish's The Elements of Pizza:  Unlocking the Secrets to World-Class Pies at Home (10 Speed Press, 2016) hasn't officially been anointed as the New Pizza Bible, that distinction seems imminent.  

I was already a fan of Forkish's earlier book Flour Water Salt Yeast (10 Speed Press, 2012), which is an excellent, and meticulously detailed general text on bread baking.  It also tells a great story:  how Forkish left a corporate career of almost 20 years in Silicon Valley to embark upon a new career as a bread baker; how he was inspired to do so by reading a profile of the legendary French baker Lionel Poilâne in the pages of Smithsonian that a friend had lent him (a profile that also left an impression on me way back in 1995); and how this eventually led to the founding of Ken's Artisan Bakery in 2001, a bakery that quickly became a mainstay of Portland's food scene, and one that has since built a national reputation.  

fig. b:  FWSY's pizza margherita

fig. b:  FWSY's pizza margherita

One of the the things I loved about Flour Water Salt Yeast was its devotion to pizza:  roughly 60 pages out of a 260-page text.  The book's full title is Flour Water Salt Yeast:  The Fundamentals of Artisan Bread and Pizza, after all.  And this section of the book was no mere afterthought--Forkish, like others before him, had gone from being a bread fanatic to being a pizza fanatic.  In fact, he followed up on the success of Ken's Artisan Bakery by opening Ken's Artisan Pizza in 2006.  His thoughts on pizza were based on 5+ years as a full-scale pizza professional, as well as years as a pizza lover before that. 

fig. c:  detail, back cover of Flour Water Salt Yeast

fig. c:  detail, back cover of Flour Water Salt Yeast

Forkish's pizza section featured the same passion and attention to detail that characterized the rest of his book, and along with the teachings of people like Jim Lahey and Anthony Falco, it proved to be an important step in my pizza education.  But you've gotta hand it to the guy.  He could have gone back to the well and just expanded upon the lessons he'd already laid down in Flour Water Salt Yeast.  Add a little more detail.  Develop some funky new recipes.  That's it, that's all.  Ba-da-bing, ba-da-boom.  Instead, he embarked upon a series of pizza pilgrimages.  He went back to the sources.  He interviewed the masters.  He observed closely.  He asked questions.  And doing so forced him to scrap much of the pizza wisdom he'd developed over the years.  It forced him to part ways with a number of the pizza truths that he'd believed to be self-evident, including one that had been a cardinal belief of his:  that the fundamentals of artisan bread baking and artisan pizza making were identical.  Hell, that was much of the premise of Flour Water Salt Yeast.  

What he learned was that from the perspective of an Italian master pizzaiolo this was categorically untrue:  bread was bread, and pizza was pizza.  There might be some overlap between the two, they might share a similar skill set, but bread and pizza were fundamentally different.  Pizza dough needed to be made differently, fermented differently, and handled differently.  And, of course, the baking of pizza was also altogether different.

fig. d:  hands of a master pizzaiolo:  Enzo Coccia

fig. d:  hands of a master pizzaiolo:  Enzo Coccia

The book that resulted, The Elements of Pizza, represents a major leap forward for Forkish and for the ever-growing body of pizza lit.  It is written with passion and conviction, and with a great deal of personality.  It is sufficiently comprehensive, beginning with the great traditions of Italy, Naples and Rome, where Forkish locates "the soul of pizza," but also encompassing a number of the most important American traditions:  New York, Trenton, NJ, New Haven, Detroit, and a whole host of new-school pizza enthusiasts (like Roberta's, Motorino, Emily, and, indeed, Ken's).  And it is meticulously detailed and filled with all the inspiration an aspiring pizzzaiolo could ever ask for.  Beginning with chapters on Ken's pizza pilgrimages and his breakdown of pizza styles, it follows this up with a number of very helpful chapters, such as:  8 keys to unlocking the secrets of top-notch pizza crusts; sourcing ingredients and acquiring necessary pieces of equipment; methods; and pizza dough recipes; before offering another 120 pages worth of actual pizza recipes.

But the emphasis is placed quite squarely on achieving Perfect Crust Forever, as it should be.  Top-shelf ingredients and creativity aren't worth a hoot if the pizza crust isn't sublime.  That utterly transcendent crust is what Forkish experienced on numerous occasions over the course of his pizza pilgrimages, and it's that utterly transcendent crust that is the ultimate goal of The Elements of Pizza.  One can get a sense of what Forkish is after, and just how elusive this goal might be, in his opening chapter, "The Soul of Pizza."  Here, Forkish describes a trip he paid to Pepe in Grani in Caiazzo, Italy, roughly 30 miles outside of Naples.  There, Franco Pepe, a third-generation pizzaiolo, has established a new pizzeria (Pepe in Grani just opened in 2012) that has quickly developed a reputation for being one of the world's very best, because of its utter respect for tradition (the dough is naturally leavened, it is hand-mixed, and Pepe uses no refrigeration in its preparation), on the one hand, combined with its willingness to push the envelope when it comes to toppings (fig jam with grated Conciato cheese, anyone?), on the other.  But it's Pepe's pizza crust that is the true star of the show, and to which Forkish directs most of his attention:  

These were flawless pizzas.  [Pepe's] reputation is well deserved.  The crust had a very thin layer of crisp on the outside and the bottom, and a feathery light crumb inside the rim.  It was almost weightless.  The inner base of the crust was very thin and perfectly leopard-spotted on its bottom...
...Franco's crust tasted of lactic fermentation--a flavor that's sometimes described as milky and fruity, and similar to what you get with a ripe liquid levain...  His is a very well-fermented dough, with a beautiful balance of flavors, and as they might say in Italy, it is highly digestible ("digestibility" is loosely defined, but widely regarded as beings a benefit of long-fermented, naturally leavened pizza and bread).  We put that to the supreme test by eating five more pizzas... [my emphasis]

"Flawless."  "Feathery."  "Weightless."  "Highly digestible."  These are not words used to describe your typical pizza pie.  Forkish is pursuing transcendence, and what makes his book so captivating is his conviction that one can reach similar heights at home, using a conventional oven.

One of the recipes that caught my fancy right off the bat was Forkish's Zucchini Blossom Pizza recipe.  I'd been kind of obsessed with the idea of zucchini blossom pizza ever since I received Saveur's 2010 issue devoted to Los Angeles, which featured a glorious photograph of Pizzeria Mozza's Squash Blossoms & Ricotta pizza on its front cover:

fig. e:  Pizzeria Mozza's zucchini blossom & ricotta pie

fig. e:  Pizzeria Mozza's zucchini blossom & ricotta pie

I made it out to L.A. not long after that issue came out, but I never made it to Pizzeria Mozza and I've never been lucky enough to find a squash blossom pizza anywhere else. With zucchini blossoms plentiful here in Montreal's farmers' markets right now, though, I knew I had to give Forkish's recipe a try.  But first I had to think about my pizza dough.

When it comes to using Forkish's book to unlock the secrets of pizza, there's no better place to start than with his simplest dough:  his "I Slept In But I Want Pizza Tonight" Dough.  It's a simple recipe (as long-fermentation pizza doughs go), and it's designed to be easily achievable within a day--within half a day, actually.  This is the recipe that most people are going to turn to first, for obvious reasons, so it's gotta be good.  I went ahead and gave it a spin.

"I Slept In But I Want Pizza Tonight" Dough

350 grams water

10 grams fine sea salt

0.5 grams (roughly 1/8 tsp) instant dried yeast

500 grams white flour, preferably Caputo 00 flour

olive oil

special equipment:

digital scale

dough tubs

instant-read thermometer

baking stone or baking steel

Use a digital scale to weigh 350 grams of 100º F (38º C) water into a 6-quart dough tub.  Measure 10 grams of fine sea salt, add it to the water, and swirl it around until dissolved.  Measure instant dried yeast and add it to the water, allowing it to rest there for a minute to hydrate, before swirling it around to fully dissolve it.  Add the flour to the water-salt-yeast mixture.

Mix the dough by hand, stirring it thoroughly to fully integrate the ingredients and create a single mass of dough.  Then use the pincer method [consult Forkish's books for details] to cut the dough up into sections, before folding it back together into a unified mass.  Continue for just 30 to 60 seconds.  The target dough temperature at the end is 82º F (28º C).

Let the dough rest for 20 minutes, then knead it on a work surface that's been lightly dusted with flour.  Knead for 30 to 60 seconds, until the skin of the dough is very smooth.  Place the dough ball seam side down in a lightly oiled (olive oil) dough tub.  Cover with a tight-fitting lid.  Let the dough rise at room temperature for 1 1/2 hours.  This is the first fermentation.

Divide and shape the dough into 3 dough balls [consult Forkish's book for details].  Moderately flour a work surface about 2 feet wide.  With floured hands, gently ease the dough onto the work surface.  Dust the entire top of the dough with flour, then cut it into 3 pieces (or 5, depending on the style of pizza you're aiming for).  Shape each piece of dough into a medium-tight ball [following Forkish's instructions], working gently and being careful not to tear the dough.

Place the dough balls on a lightly floured baking sheet or dinner plate, leaving space between them to allow for expansion.  Lightly flour the tops, cover with airtight plastic wrap, and let rest at room temperature for 4 to 6 hours.  This is the second fermentation.

After the second fermentation, you're ready to make pizza.  Refrigerate the dough balls if you need to delay making your pizza for a bit.  Just let them come to room temperature before making pizza.

[based very, very closely on Ken Forkish's recipe of the same name in The Elements of Pizza]

The verdict:  this was a fantastic recipe.  Everything worked like a charm, and the resultant pizza crust was everything one could hope for:  light and crispy, with a perfect amount of chew, a lovely cornicione, and loads of flavour for a relatively "quick" pizza.  This was not Franco Pepe's "flawless" naturally leavened pizza, but it was supremely good for a "I Slept In But I Want Pizza Tonight" dough.

Important caveat:  Forkish is adamant about letting his pizza doughs rise at room temperature, just like Fraco Pepe, both during the first fermentation and the second fermentation.  This is something that is common in the greatest pizzerias in Italy, but highly uncommon in North America.  I agree that letting the dough rise at room temperature during the first fermentation is a great idea.  However, after trying Forkish's room temperature method for the second fermentation on a couple of occasions and meeting with difficulties, I've gone back to refrigerating my doughs during this part of the process.  The primary reason is that my kitchen is rarely "room temperature."  We don't heat our kitchen a great deal in the winter, and we never use air conditioning in the warm-weather months.  Our windows are often open, and our kitchen is usually either warmer than room temperature or cooler than it, and our humidity is often fairly high in the spring and summer.  In other words, the conditions in our kitchen are much too volatile to allow for a 4- to 6-hour second fermentation without monitoring the process obsessively and risking failure every time.  What's been working for me is giving the dough balls a 5-6-hour (or more) second fermentation in the refrigerator, then allowing them to come to warm up at room temperature for about 60-90 minutes before forming, stretching, and baking them.  My dough balls haven't been over-proofed, and 60-90 minutes at room temperature has allowed them to relax to the point that they become very easy to handle.

fig. f:  zucchini blossom pizza 1

fig. f:  zucchini blossom pizza 1

Now, here are the instructions for making Forkish's ricotta-stuffed zucchini blossom pie, a version of which you see pictured above:

Zucchini Blossom Pizza

[Makes one 12-inch thin-crust pizza]

1 dough ball

1/2 cup fresh ricotta cheese

1/4 cup grated Pecorino Romano cheese

1 egg yolk

zest of 1/4 lemon

sea salt

10 mint leaves, snipped or chopped

6 zucchini blossoms

fragrant extra-virgin olive oil

1/3 cup tomato sauce

In a medium-size bowl, mix the ricotta, Pecorino Romano, egg yolk, lemon zest, a pinch of salt, and half of the mint leaves with a fork until completely blended.  Cut off the zucchini blossom stems, gently open the blossom, remove the pistil, and stuff each blossom with some of the cheese mixture (roughly 1 tbsp per blossom).  Close the blossom back up and seal the petals with a twist.  Set aside on a plate, and gently rub with a thin film of olive oil to keep the petals from scorching in the oven.

When your pizza dough has been properly stretched and formed, apply the tomato sauce.  Place the blossoms on the tomato sauce with their tops pointing in, making sure to space them in such a way as to make a lovely radial pattern.  Drop any extra ricotta into the spaces between the blossoms.  Scatter the remaining mint leaves over top.  Bake your pizza following Forkish's instructions for roughly 5-7 minutes total.

[based on the essentials of Ken Forkish's recipe in The Elements of Pizza]

fig. g:  zucchini blossom pizza 2

fig. g:  zucchini blossom pizza 2

Not bad, huh?  And, again, this was made with the very same "I Slept In But I Want Pizza Tonight" Dough recipe featured above.  I hadn't actually slept in, but I definitely hadn't started any other long-fermentation dough recipes one or two days before, and I woke up with a hankering for pizza.  My dough balls were in the fridge by 9:00am.  By 6:00pm I was back at home, firing up my oven, and beginning to pull my dough balls from the refrigerator.  By 7:15pm or so, the pizzas coming out of the oven were divine.

But it was that zucchini blossom pizza that stole the show.  It was just so beautiful and the flavours were magical:  the blossoms, the ricotta, the mint, the crust.  Highly recommended!

An important note about baking in a conventional oven:  Place a baking stone or baking steel in your oven, and crank it as high as it will go.  I've been using a baking stone with good results for years.  Recently I switched to using a baking steel instead, and the results have been exceptional (and I'm not the only one who's experienced this).  If you can afford it, you might want to consider the combination baking steel/griddle--it's a truly ingenious contraption, it works remarkably well in both capacities, and it comes very highly rated.  Ten minutes before you're ready to bake your pizza, use your broiler on full blast.  When you throw in your pizza, switch it back to conventional baking mode for 2-3 minutes.  For the final 1-2 minutes of your bake, turn your broiler back on to achieve some lovely blistering on the top side.

That's it for now.  You'll find more on Forkish's The Elements of Pizza here in the pages of "...an endless banquet" as I work my way through its various styles.

Behold the New Pizza Bible!  My love of pizza blossoms anew.

aj