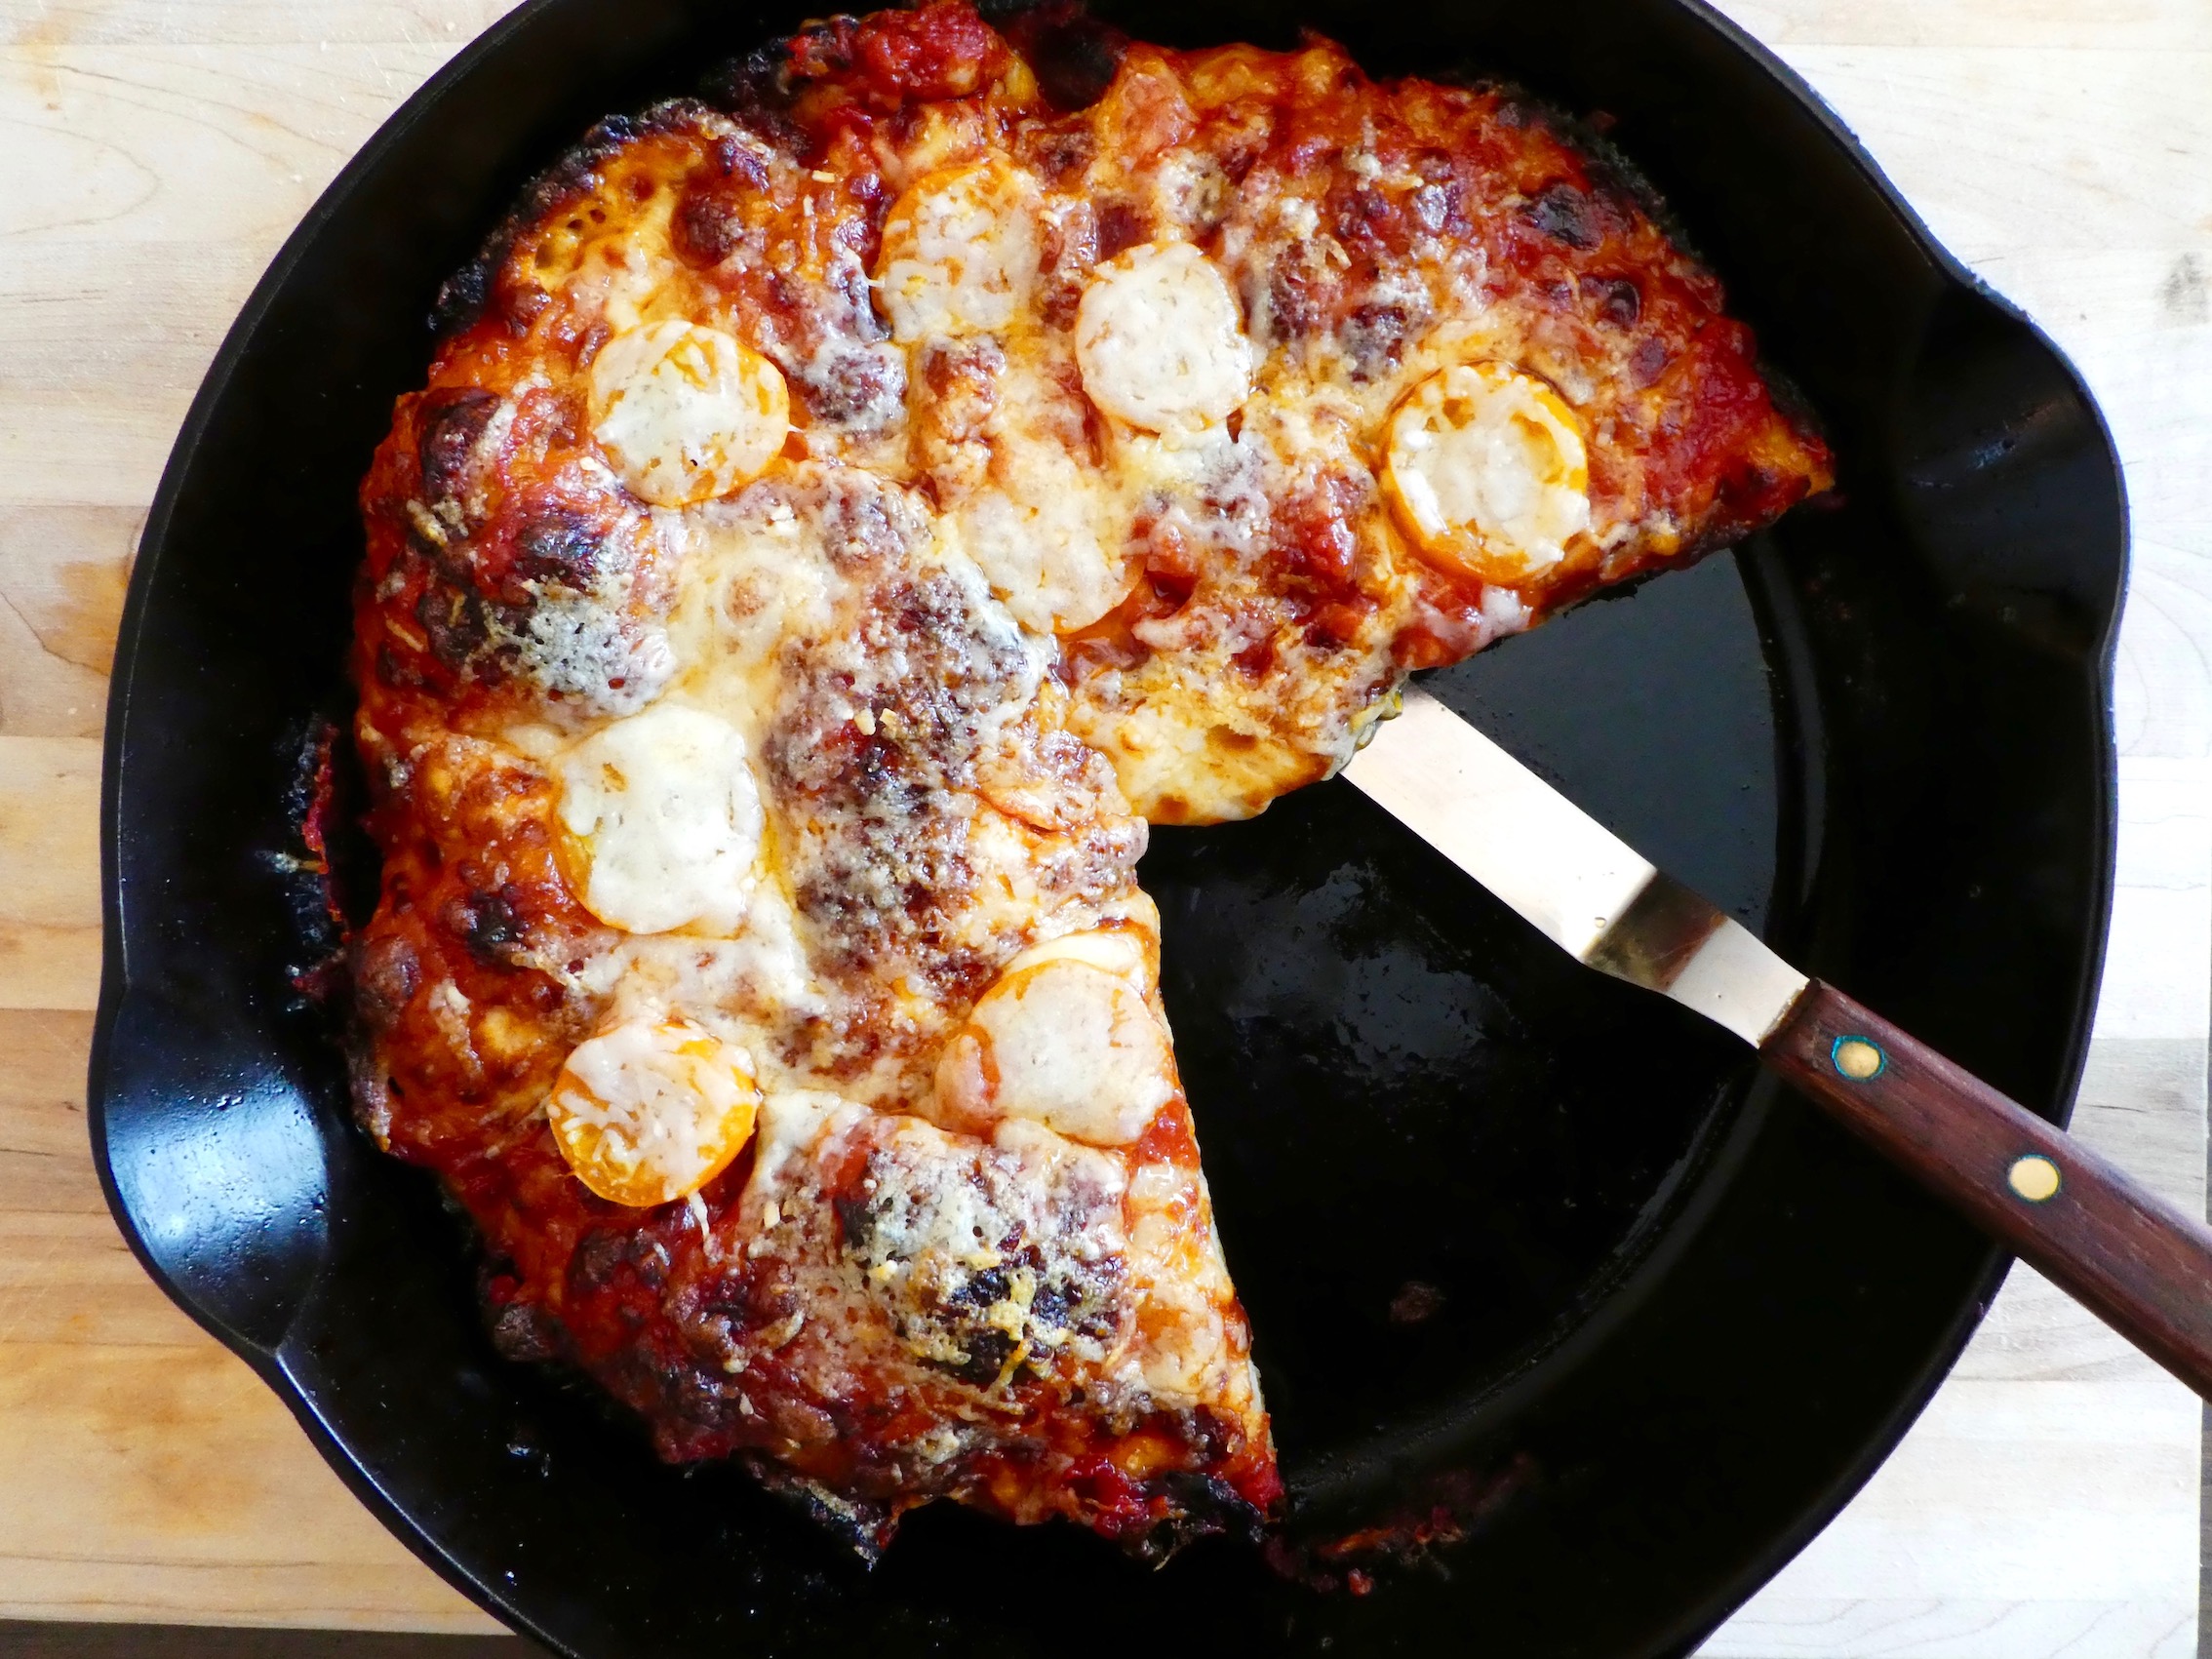
fig. a: The Joy of Pan Pizza
I’m definitely not the first person to point this out, but what we need now are simple, satisfying recipes; recipes that don’t require a bunch of obscure ingredients, but instead feature items that can be easily found at your local supermarket, green grocer, or co-op; recipes that actually turn out well (exceptionally well) and that are rewarding to make.
And if these recipes should have a touch of nostalgia to them, all the better.
Enter pan pizza.
So much of the literature on pan pizza—and, believe me, there is a fairly extensive body of literature on the topic—is dripping with nostalgia. Almost literally so. There’s a real obsession with trying to recreate those buttery, decadent crusts of yore, topped with excessive amounts of gooey cheese, and lots of piping-hot, slightly sweet tomato sauce—the ones that you cherished as a child. The ones you may still cherish today.
While my family definitely ate a considerable amount of pizza, I didn’t grow up in a pan pizza household. I never had that powerful association with Pizza Hut and its ilk that so many others had. I wasn’t entirely averse to the pan pizza thing—its charms were pretty obvious to me—but, for better or for worse, other types of pizza exerted a stronger influence on me.
All of which is to say, that when I got interested in making pizza at home a number of years ago, I gravitated toward other styles: mainly Neapolitan (or rather, Neapolitan-esque), New York-style (or what might more accurately be described as New York-ish), some approximation of Bay Area pizzas we’d admired in the past, and sheet pizzas that mimicked those of Sullivan Street Bakery. Even though I often read about pan pizza with interest, it took me years to actually get around to trying one of these new-school, homemade pan pizza recipes out.
Big mistake.
When I began to experiment with pan pizza a couple of years ago I quickly realized that these were among the very easiest, most consistently excellent, and most satisfying home pizza recipes out there. They didn’t require ingredients that were difficult to find, and you didn’t need a pizzaiolo’s touch or a whole lot of fancy equipment. Hell, you didn’t even need a pizza peel (or some kind of substitute for one), you just needed a 10-inch skillet, preferably cast-iron.
fig. b: Look, Ma, no peel!
My go-to pan pizza recipe is actually a mash-up of two popular recipes that have appeared online in recent years: one from Serious Eats, and the other from The New York Times Magazine.
The dough recipe comes from J. Kenji López-Alt, it’s incredibly easy to make, and, even better, it’s foolproof—or as close to foolproof as a recipe can be. In fact, that’s what it’s called: Foolproof Pan Pizza Recipe. The only investment needed is time. I typically start the process late at night, before I go to bed. This step takes mere minutes. The next morning I form my dough balls. Again, this step takes no more than 10-15 minutes (tops!). And by late afternoon/early evening, my pizza dough is ready to go—the only thing is that you need to allow 2 hours for your dough to temper and come to room temperature. Once your dough has tempered, you’ll find it incredibly easy to handle and stretch. You’ll also find it very much alive. Twenty to twenty-five minutes later, you’ll be pulling piping-hot pan pizza from the oven—quite likely, the lightest, tastiest pan pizza you’ve ever tasted. Sounds do-able, right?
Kenji’s accompanying sauce recipe is perfectly excellent. But even better, in my opinion, is a sweeter, somewhat more decadent sauce developed by Anthony Falco of Roberta’s. It, too, is foolproof—or as close to it as imaginable—and its Bit-o-Honey finish is the ultimate flavour sensation with these crispy, chewy, buttery, and wonderfully gooey pies.
J. Kenji López-Alt’s Seriously Foolproof Pan Pizza
400g bread flour, plus more for dusting
10g kosher salt, plus more for sprinkling
4g instant yeast
275g water
8g extra-virgin olive oil, plus more to coat pans and for drizzling
1 1/2 cups pizza sauce (such as Anthony Falco’s Pan Pizza Sauce [see below])
12 ounces grated full-fat, low moisture (dry) mozzarella cheese
2 ounces grated Parmesan or Pecorino Romano cheese
1. Make the pizza dough, keeping in mind that this is a slow-ferment dough that requires over 12 hours to be made properly, and that will benefit from even more time. (My normal schedule has been to mix the dough late at night before I go to bed. Form the pizza doughs the next morning. Wrap them and place them in the fridge to hold all day. Then remove from the fridge two hours before baking so they can temper at room temperature [see details below].)
2. Combine flour, salt, yeast, water, and oil in a large bowl. Mix with hands or a wooden spoon until no dry flour remains. (The bowl should be at least 4 to 6 times the volume of the dough to account for rising.
3. Cover bowl tightly with plastic wrap, making sure that the edges are well sealed, then let rest at cool room temperature (no warmer than 75°F) for at least 8 hours and up to 24. Dough should rise dramatically and fill bowl. In a hot kitchen, the dough may overproof near the end of that range.
4. Sprinkle top of dough lightly with flour, then transfer it to a well-floured work surface. Divide dough into 2 pieces and form each into a ball by holding it with well-floured hands and tucking the dough underneath itself, rotating it until it forms a tight ball with a smooth surface.
5. If you’re aiming to bake some pies in about 2 hours, skip the next step and move on to Step #7.
6. If you still need some time, place the doughs on a well-floured small rimmed baking tray, cover with plastic wrap, and place in the fridge for several hours (up to 36).
7. Pour 2 tablespoons oil in the bottom of two 10-inch cast iron skillets. Place 1 dough ball in each pan and turn to coat evenly with oil. Using a flat palm, press dough around the pan, flattening it slightly and spreading oil around the entire bottom and edges of the pan. Cover tightly with plastic wrap and let dough sit at room temperature for 2 hours (at room temperatures above 75°F, the dough may require less time to rise; at temperatures below 65°F/18°C, it may require more time). After the first hour, adjust an oven rack to the middle position and preheat oven to 550°F (290°C).
8. After 2 hours, dough should be mostly filling the pan up to the edges. Use your fingertips to press it around until it fills in every corner, popping any large bubbles that appear. Lift up one edge of the dough to let any air bubbles underneath escape, then repeat, moving around the dough until there are no air bubbles left underneath and the dough is evenly spread around the pan.
9. Top each round of dough with 3/4 cup sauce, spreading sauce to the very edge with the back of a spoon. Sprinkle evenly with mozzarella cheese, all the way to the edges. Season with salt. Drizzle with olive oil.
10. Transfer pan to oven and bake until top is golden brown and bubbly and bottom is golden brown and crisp when you lift it with a thin spatula, 12 to 15 minutes. Immediately sprinkle with grated Parmesan or Pecorino Romano cheese, if using. Using a thin spatula, loosen pizza and peek underneath. If bottom is not as crisp as desired, place pan over a burner on your stove and cook on medium heat, moving the pan around to cook evenly until it is crisp, 1 to 3 minutes. Remove the pizzas and transfer to a cutting board. Cut each pizza into 6 slices and serve immediately.
Now that we’ve learned to make the dough and bake the pizza, it’s time to hit the sauce.
Anthony Falco’s Pan Pizza Sauce
2 tablespoons olive oil
1 clove garlic, peeled and minced
2 tablespoons tomato paste
Pinch of chile flakes, to taste
1 x 28-ounce can whole San Marzano tomatoes, crushed by hand
2 tablespoons honey
1 teaspoon kosher salt, or to taste
Place a saucepan over medium-low heat, and add to it 2 tablespoons olive oil. When the oil is shimmering, add the minced garlic and cook, stirring, until it is golden and aromatic, approximately 2 to 3 minutes.
Add the tomato paste and a pinch of chile flakes, and raise the heat to medium. Cook, stirring often, until the mixture is glossy and just beginning to caramelize.
Add the tomatoes, bring to a boil, then lower heat and allow to simmer for 30 minutes, stirring occasionally.
Take sauce off the heat, and stir in the honey and salt, to taste, then blend in an immersion blender or allow to cool and use a regular blender.
Use as directed.
Okay, now that we’ve covered the basics, feel free to get creative.
Personally, I like my pan pizza pretty simple and basic: dough + sauce + cheese, with maybe some chili flakes, or some hot sauce, or some hot honey added at the last second, just before I’m about to chomp my still-blistering-hot slice.
Pepperoni is considered by many to be a classic variation, especially by contemporary hot honey enthusiasts, but I never make it at home.
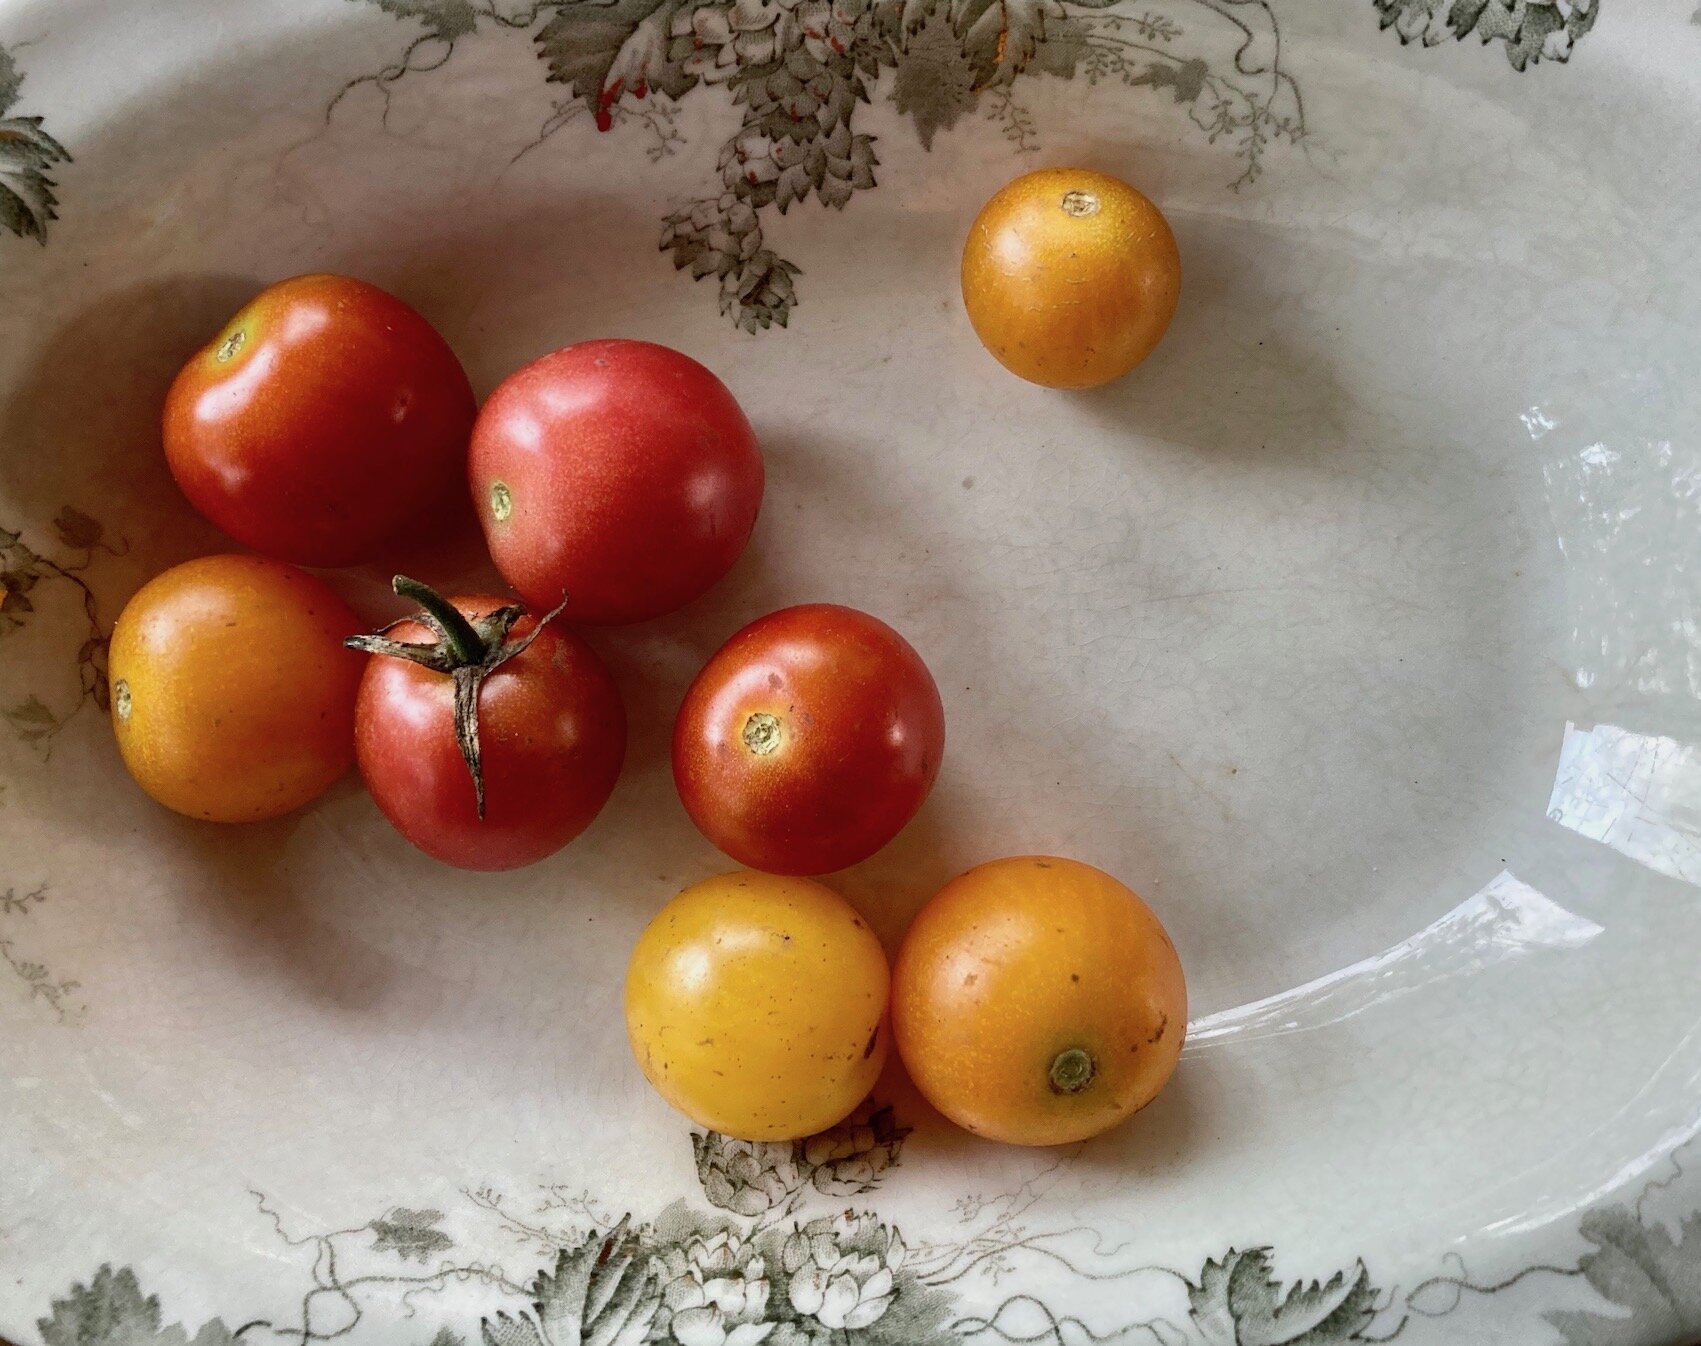
What I will highly recommend is a version that’s still very much possible RIGHT NOW, while you can still find choice local cherry tomatoes around.
fig. c: How ‘bout them tomatoes?
It’s super simple. It just involves adding cherry tomato slices to a basic tomato-cheese pie, but if you source the right tomatoes, and you’re the kind of tomato fanatic that I am, they will take your pan pizza into the stratosphere. Plus, it’s got a cute name.
fig. d: What more do you need?
A.J.’s Tomayto-Tomahto Pan Pizza
Additional topping:
4-5 fresh, locally grown, organic cherry tomatoes (the sweetest, tastiest ones you can find) [per pie], sliced
Revised instructions:
Follow instructions 1-9 to a T. At that point follow these steps:
10. Transfer pan to oven and bake until top is golden brown and bubbly and bottom is golden brown and crisp when you lift it with a thin spatula, 12 minutes. Remove from oven. Distribute cherry tomato rounds evenly, pressing them gently into the molten cheese, while being careful not to press too hard, thereby scalding yourself. Sprinkle with grated Parmesan or Pecorino Romano cheese. Return to oven and bake for another 2-3 minutes, until tomatoes are golden-brown and Parmesan or Pecorino is also bubbling wildly. Using a thin spatula, loosen pizza and peek underneath. If bottom is not as crisp as desired, place pan over a burner and cook on medium heat, moving the pan around to cook evenly until it is crisp, 1 to 3 minutes. Remove the pizzas and transfer to a cutting board. Cut each pizza into 6 slices and serve immediately, keeping in mind that this pizza is a hot, molten, delicious, but dangerous mess at the moment. Be careful. Proceed with great anticipation, and an ounce of caution.
You’re all set.
What more do you need?
aj


