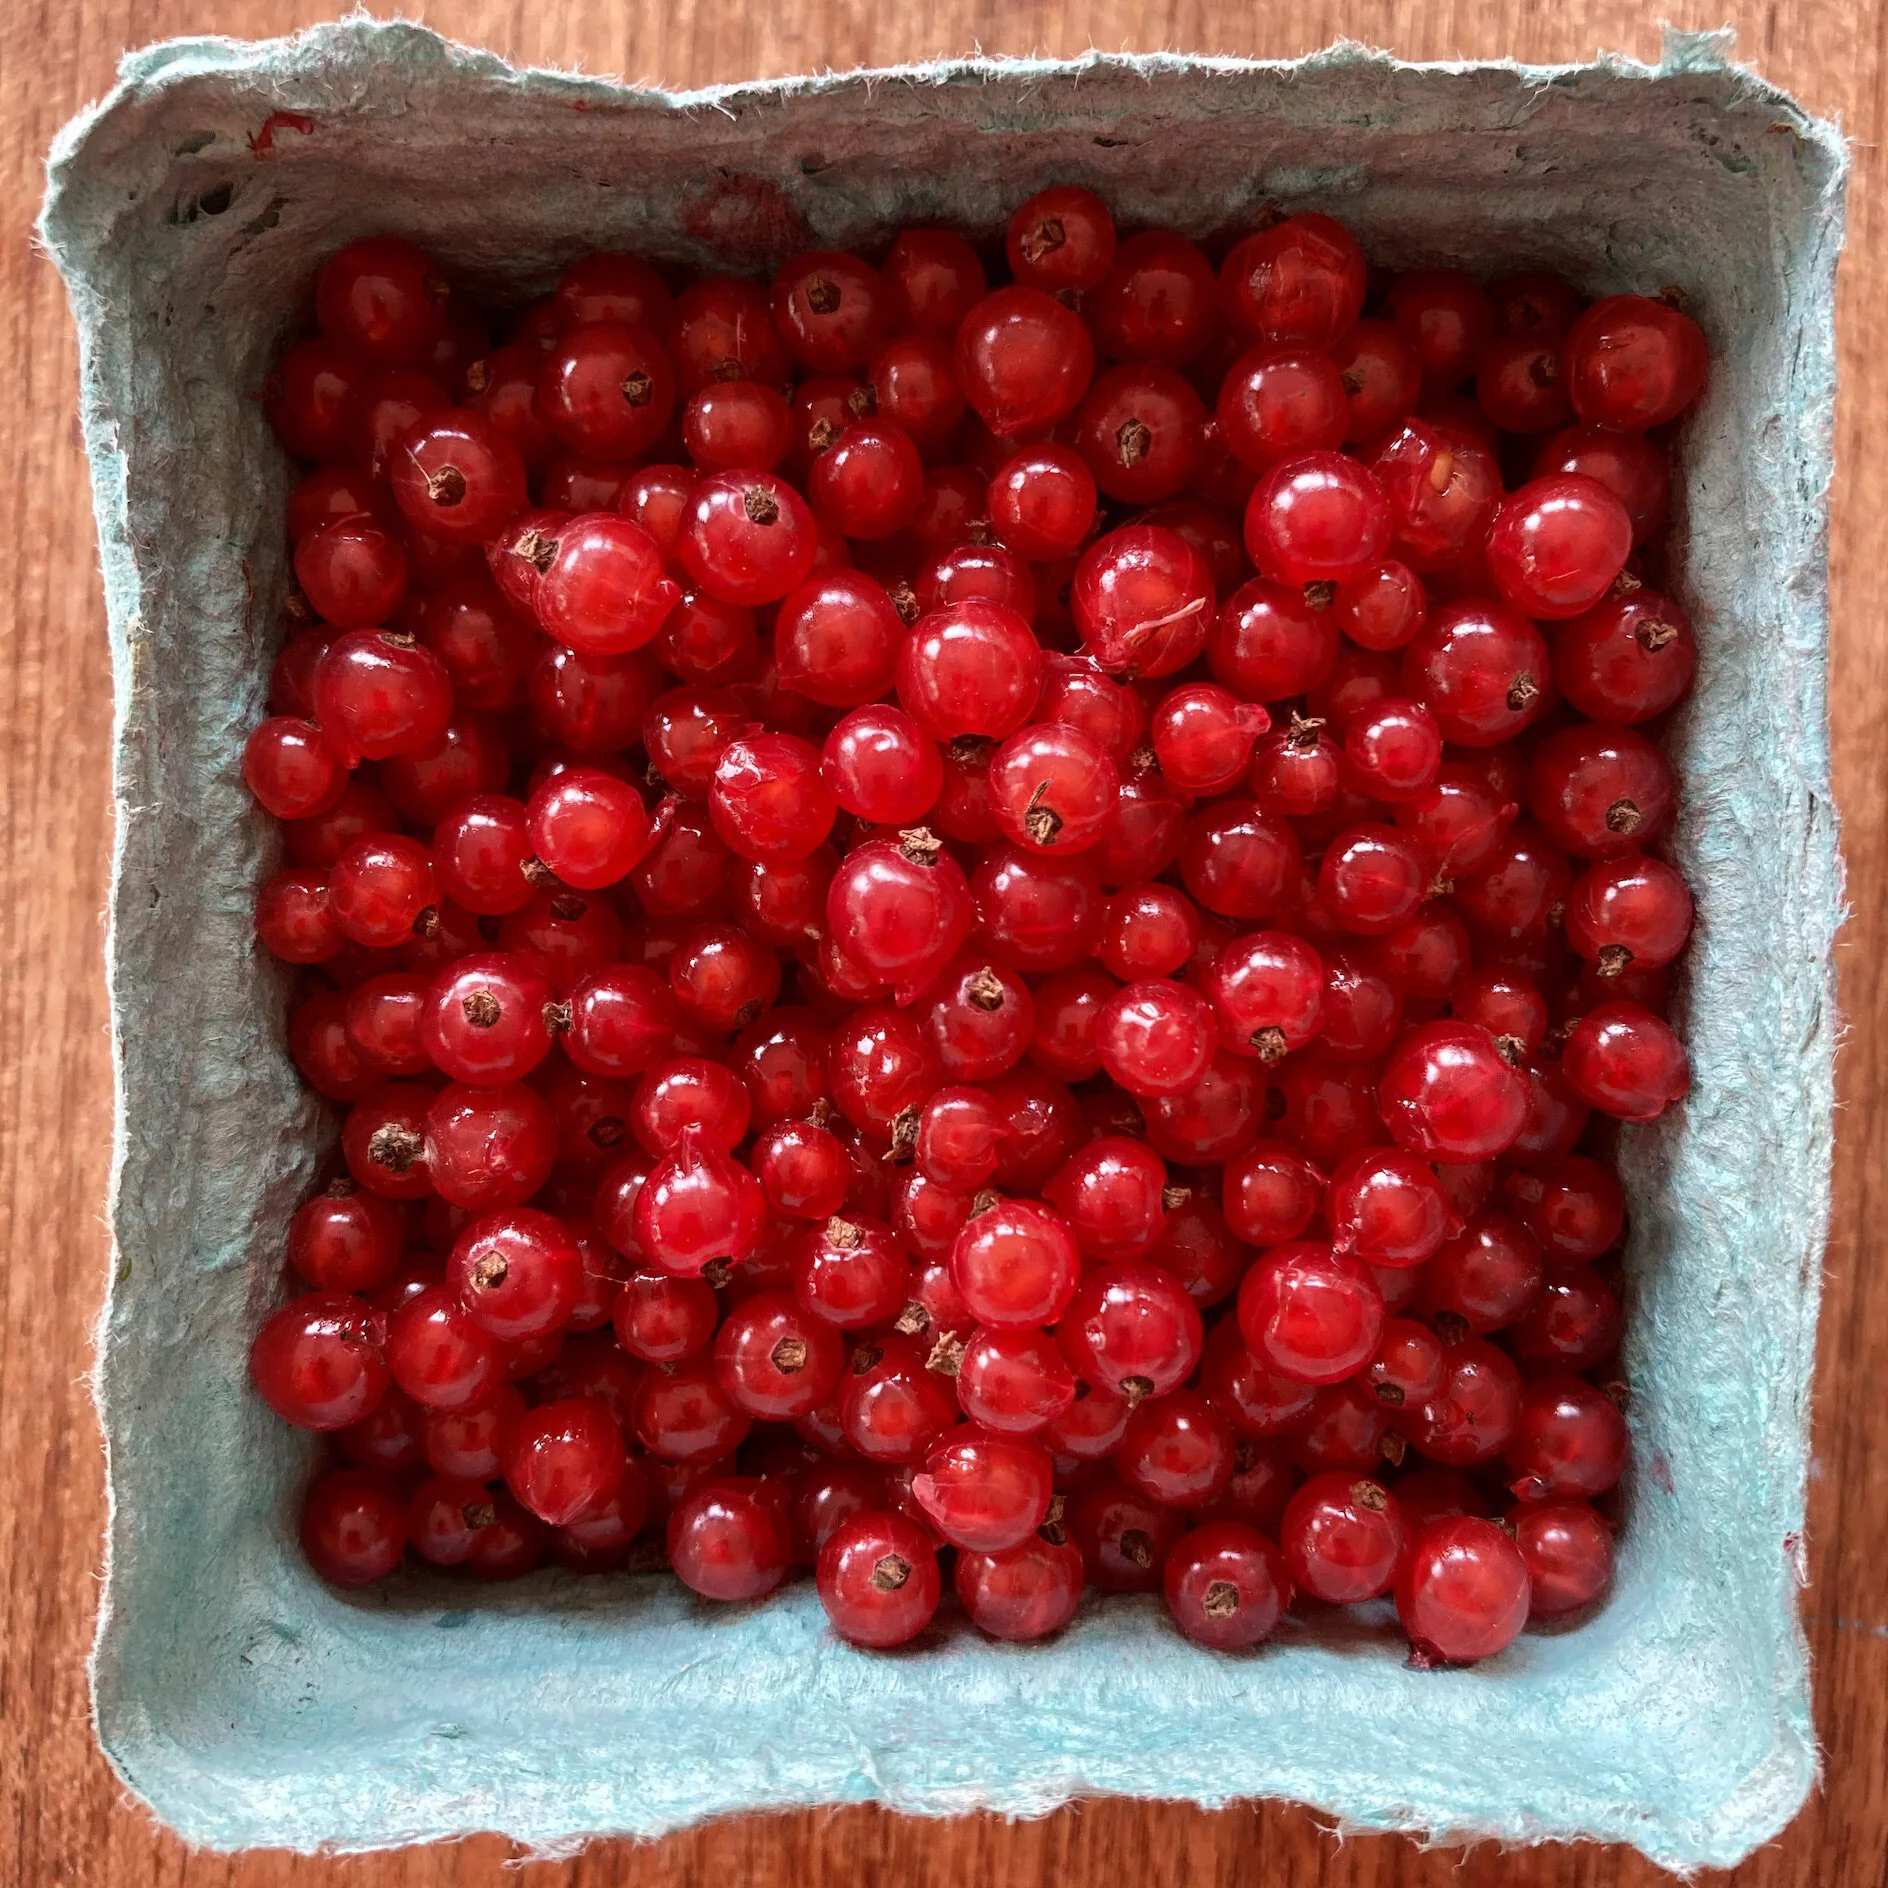
fig. a: ruby-red
It starts with a relatively small, but select, quantity of fruit. There are numerous reasons for deciding to work with such a small amount of premium fruit. Let’s consider the case of red currants, just for fun.
You get to the farmers’ market a little later than usual, and your favourite fruit vendor is nearly sold old of red currants, so you’re only able to get a pint.
A friend is generous enough to gives you some of her red currants, but for whatever reason she’s only able to give you a pint.
You have a hankering for red currant jelly, but you can’t afford the time and effort it would take to make a large batch.
You have a single, solitary red currant bush in your garden, and although it’s covered with beautiful red berries, when you’ve picked every last one of them, the yield is a mere pint.
You get the point.
In my case, it was #4 that applied. Our red currant bush was covered with berries, but when all was picked and done I wound up with the pint container you see in the photo above.
The good news is that it’s not going to take very long to make your jelly, as long as you have a jelly bag. That’s really the only piece of special equipment you need, aside from a scale.
Weigh your fruit. Add 40% of its weight in granulated sugar. Mix and allow to macerate.
When your fruit has macerated and released its juices, pour it into your jelly bag and allow it to drain into a bowl.

fig. b: papa’s got a brand new bag

fig. c: splatter art
Pour the juice into a pot (a small or medium one, depending on how small your batch is). Bring the juice to a simmer and simmer gently, watching the bubbles closely. It’s these bubbles that will let you know when your jelly has set properly. With a small batch, this will likely only take about 15-20 minutes.
Pour it in a jar. If you started with a pint of red currants, you’ll probably get a half a jar or so. The yield will be low, but the satisfaction will be high.
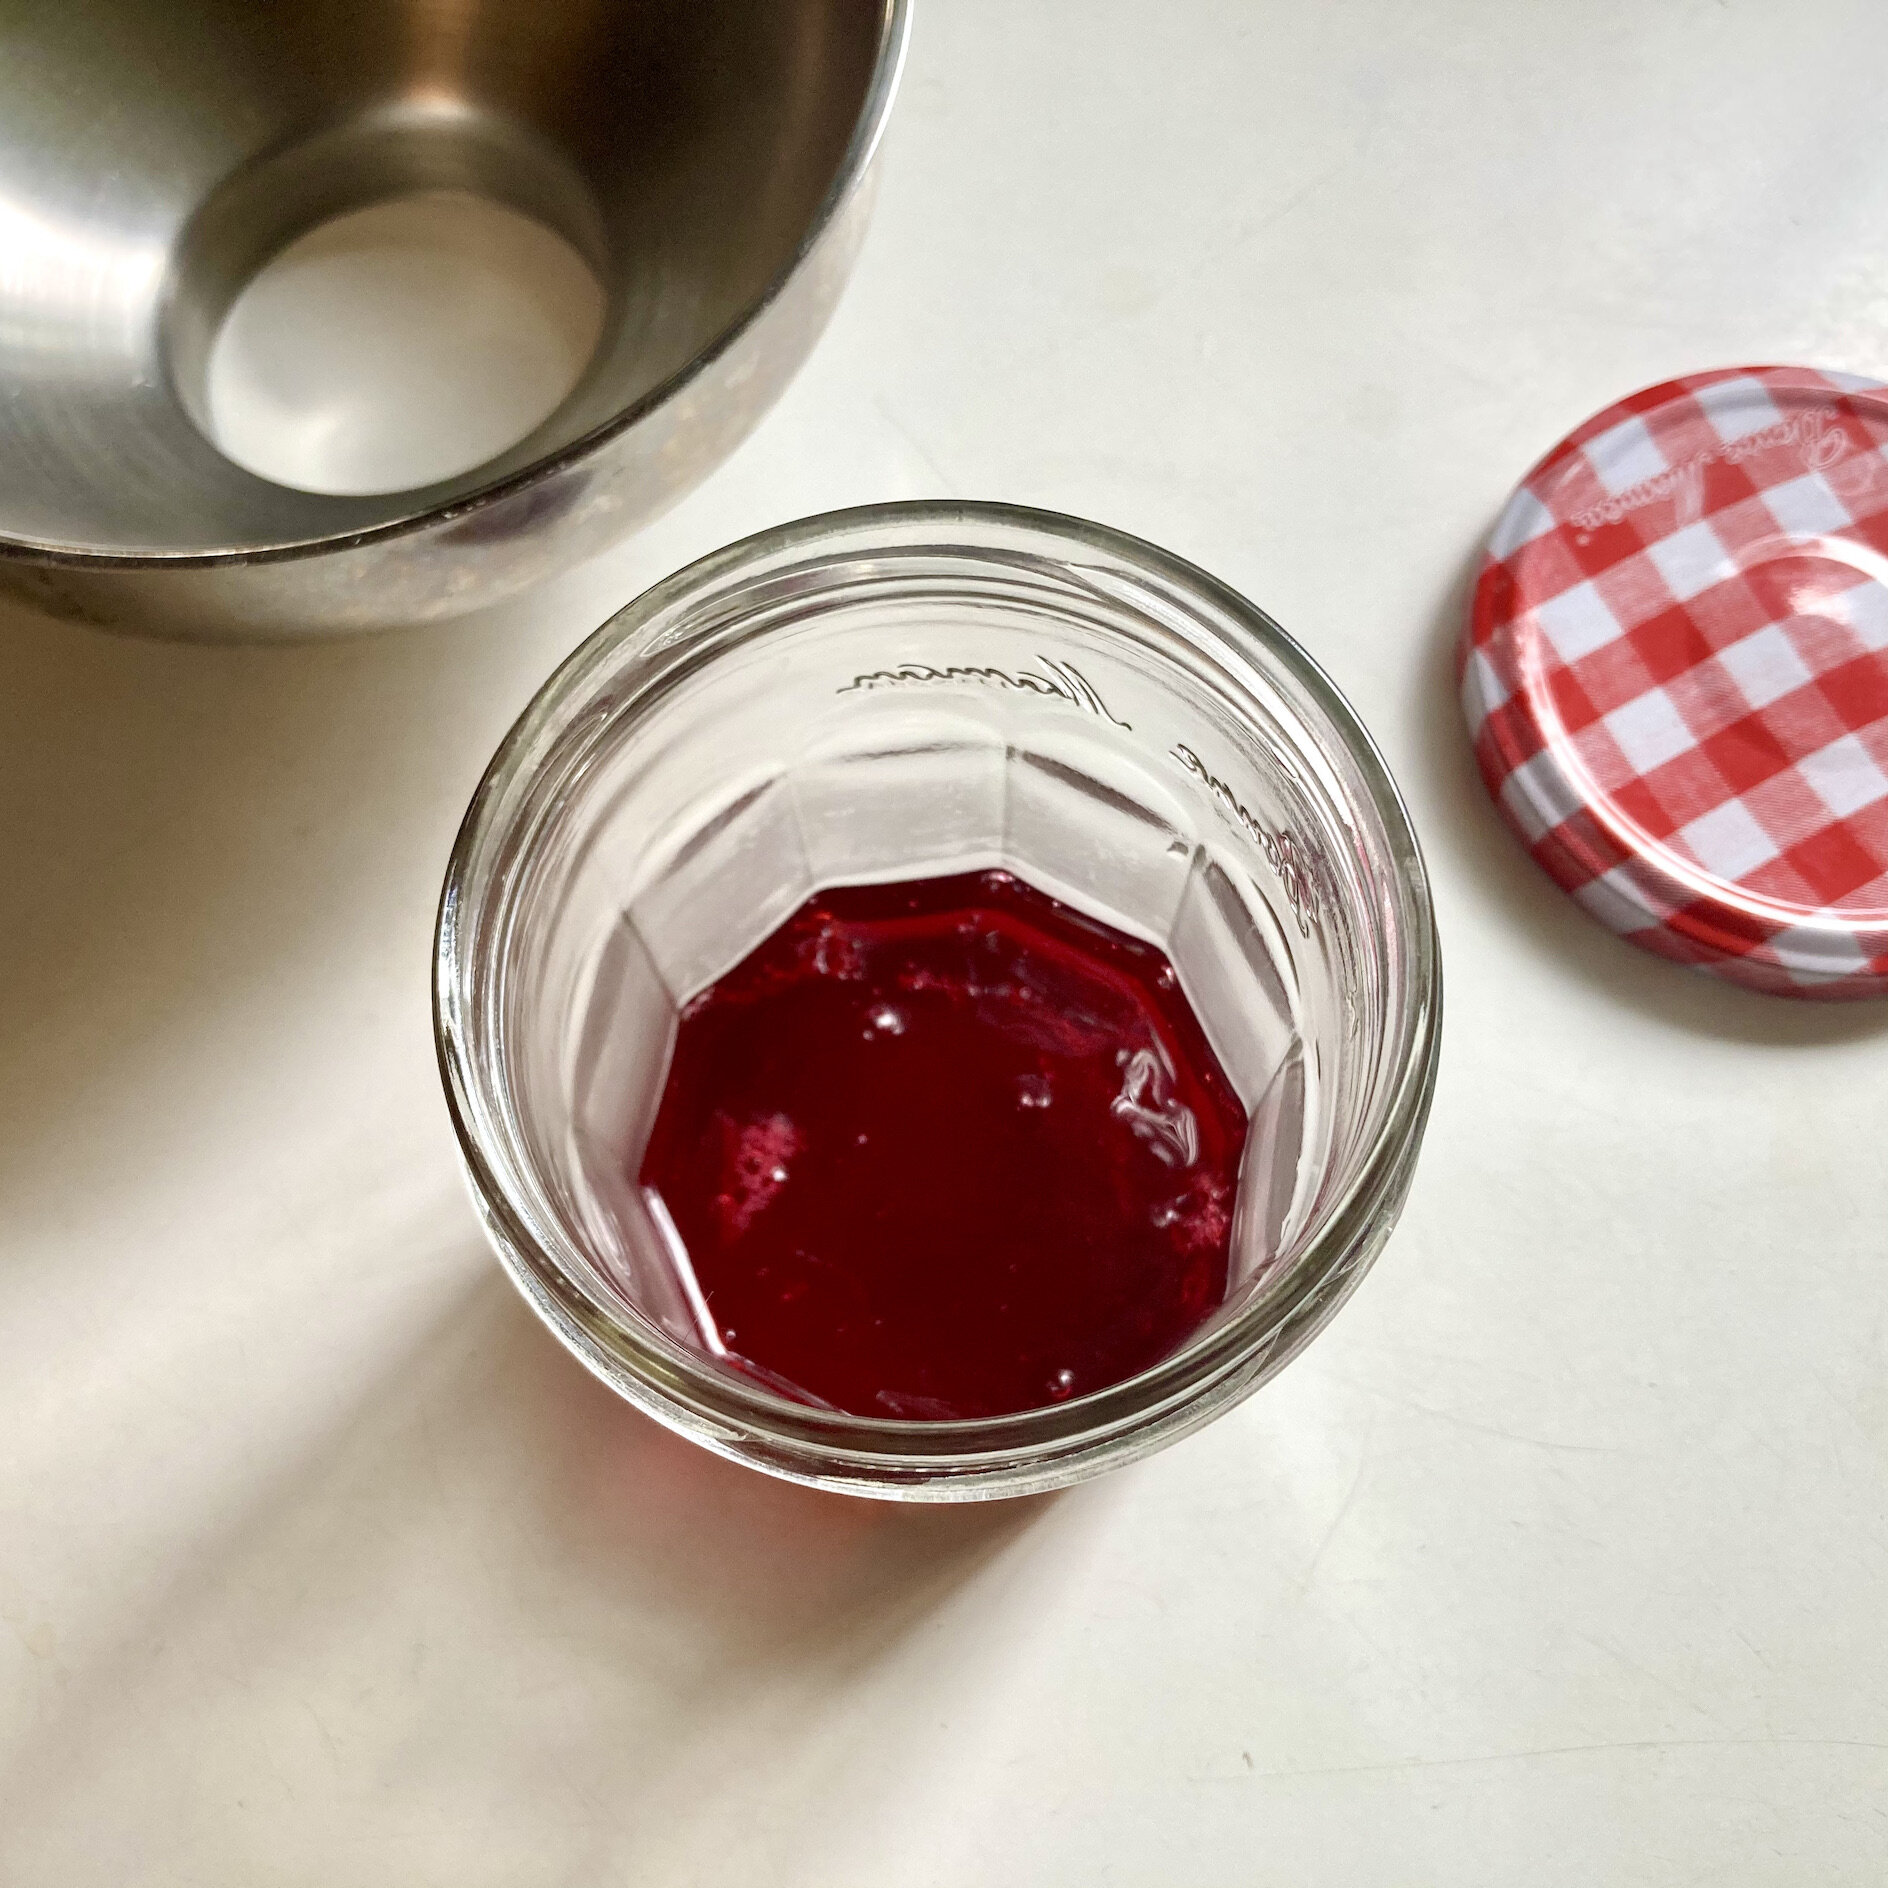
fig. d: small-batch jelly by Bon Papa Preserves
Especially if you get the set just right.

fig. e: perfect set by Bon Papa Preserves
This basic method can be used for a wide range of fruit preserves.
And if you want to make jam, it’s even quicker and easier. You don’t need a jelly bag, and you don’t need to do any straining.
Let’s say you started out with a pint or two of cherries. Sour cherries, for instance.

fig. f: sour cherries
You could use the recipe above, skip all the jelly-specific steps, and you’d have cherry jam in no time.
In fact, it might even look like this.

fig. g: sour cherry jam
Jackpot!
aj