And ginger!
It started with peaches, of course. I picked up the best Niagara peaches I could find in Montreal at Chez Nino. Then I had them expertly checked out by our Official Peach Inspector.

fig. a: paw of approval
But on that very same trip to Jean-Talon Market, I scored the most beautiful local ginger from Ferme des Quatre Temps. It was particularly juicy, particularly spicy.
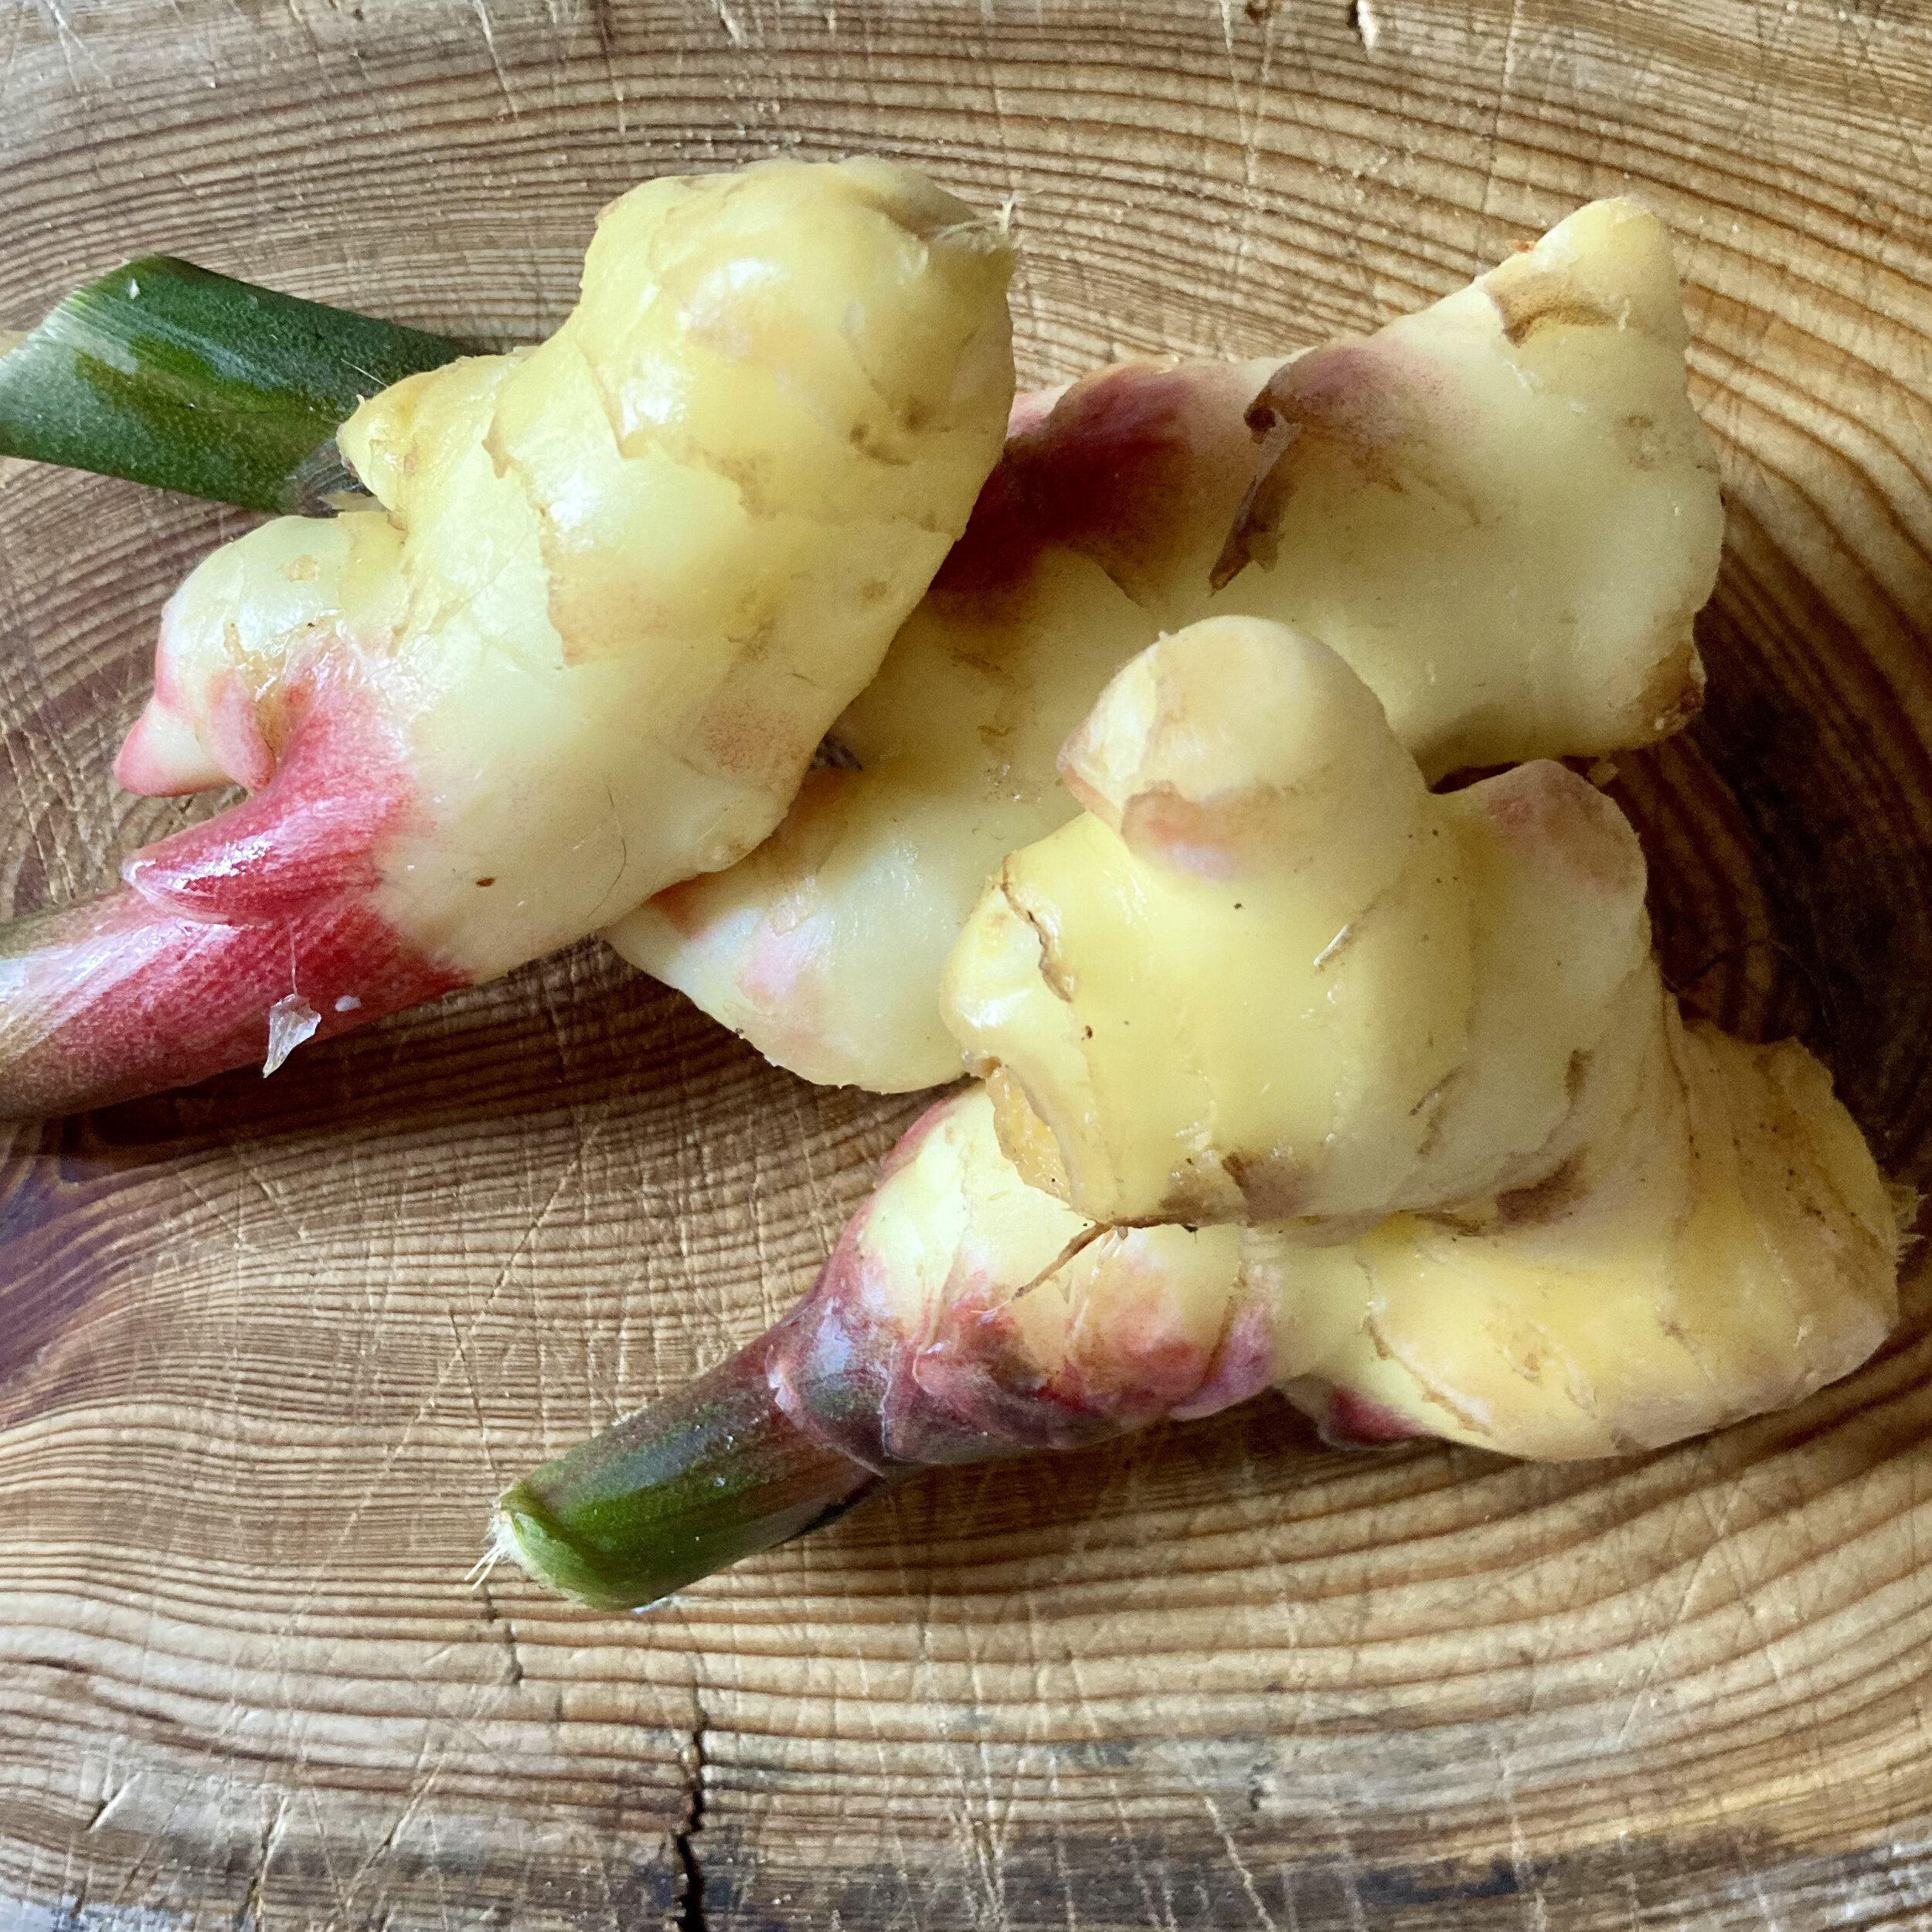
fig. b: now that’s what I call ginger!
Suddenly I had an idea.
I went back home and used the same basic method outlined in “Micro-batch Jellies & Jams.” I peeled and cut my peaches into chunks. I weighed my peaches. I added 40% of their weight in sugar and allowed them to macerate. When it came time to prepare my jam I added a generous amount of grated ginger and its juice.
The resultant jam was magical. The peach flavour was wonderful, but the ginger added additional liveliness and unexpected spice. What a treat!

fig. c: dynamic duo
Even Michelle was impressed. And that’s saying something.
aj


